Fun-Filled February

The last day of February, already  …..  oh, it’s A Leap Year!

Let’s recap the fun-filled adventures that took place in the Life and Times of Moi this past month….

What I Did, What I Wore, and What I Cooked 🙂

Cabin Fever – Winter Edition

Over Valentine’s/Family Day long weekend, me and some lindyhopping friends made the long drive out to Algonquin Park to Wolf Den Lodge for a Winter Cabin Adventure!!!

12743778_10153455105849072_4363543289003222367_n

It was THE COLDEST WEEKEND of the year.  -38C degrees …so cold  your nose hairs froze and your glasses not just fogged over, but frosted over instantly!!!

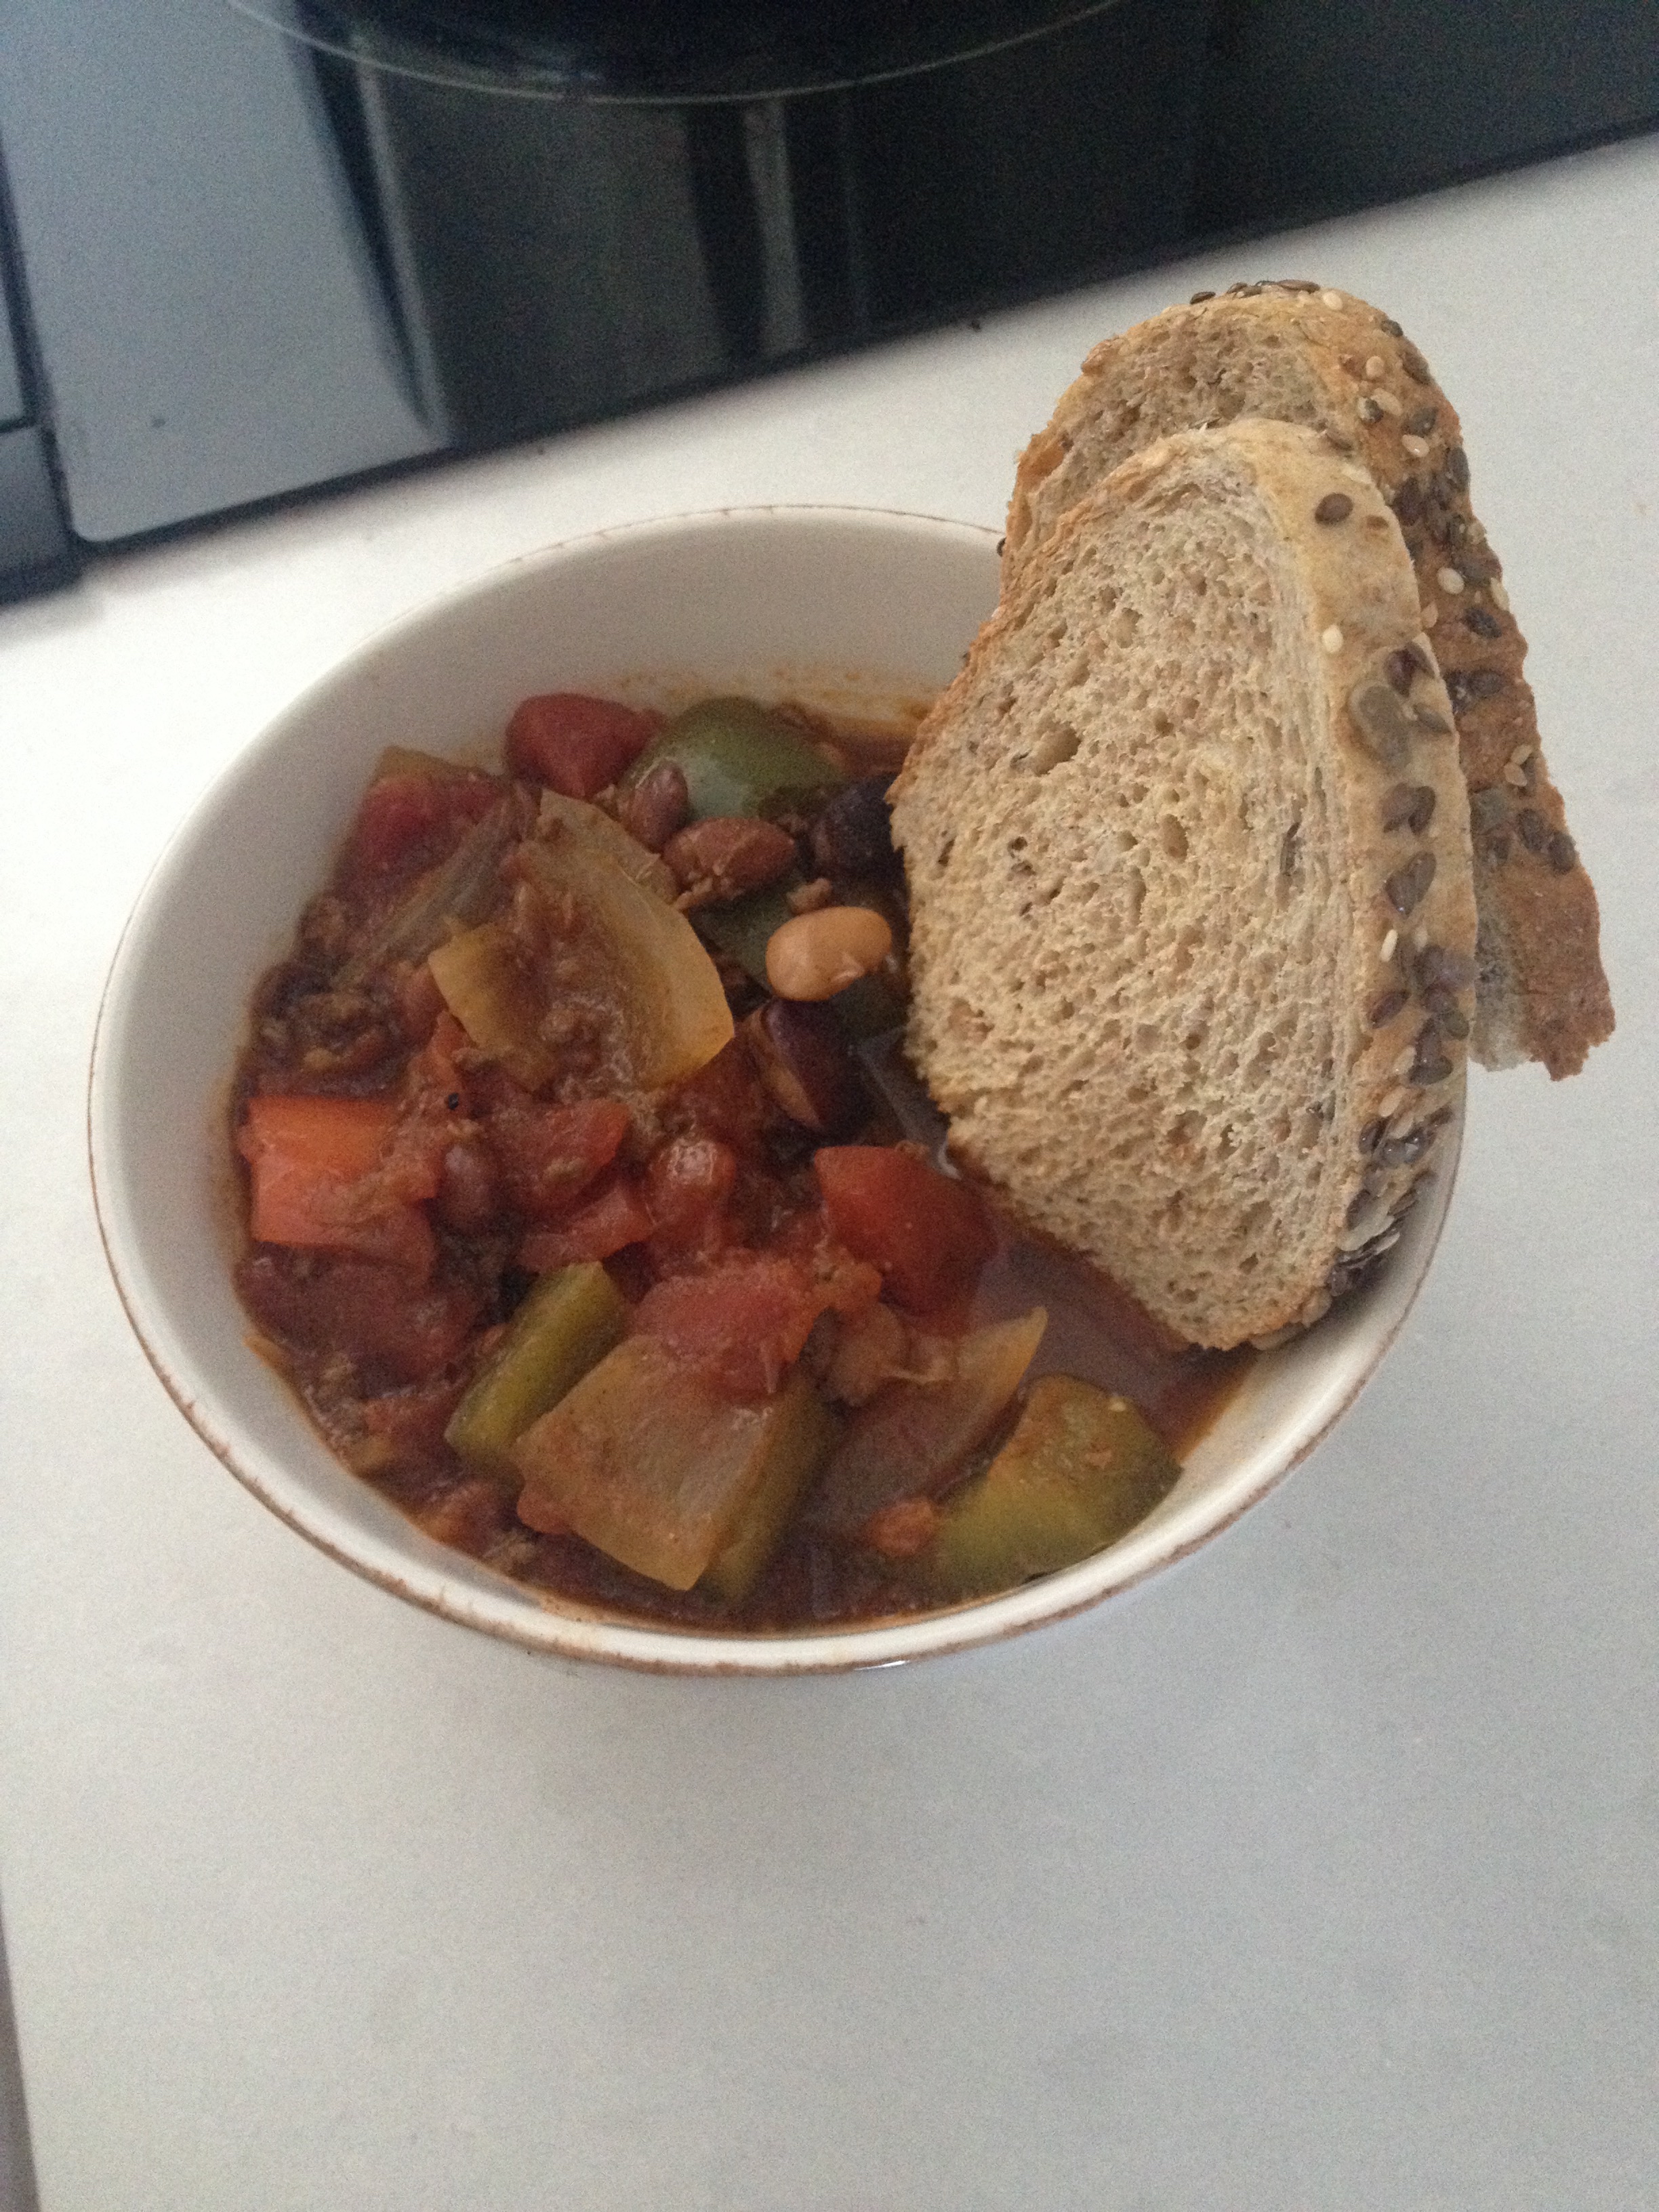
In-between communal cooking, snowy hiking, colouring and games, dancing and singing.  There. Was. Drinking. 😮

Scotch vs. Bourbon vs. Rye?  Do you know the difference?  Neither did I.  Find out more here. **hiccup**

12779109_10101494296989877_6991352527999669838_o

I needed to get myself some proper waterproof winter boots and snow pants for the trip!

With end of season sales everywhere, finding boots wasn’t too difficult.  I bought these Sorrel’s online – had them delivered right to my door.

IMG_0896
Boots were easy to find…and on super sale with the winter season coming to an end. These grey-blue fur-trimmed Sorrel’s were $85


Finding plus size snow pants was a bit more of a challenge.  But those Facebook Groups for plus size sales & swaps helped me find these waterproof omni-heat bad boys from Columbia.

Screen Shot 2016-02-27 at 6.23.27 PM
Sadly, I didn’t end up taking too many photos this weekend – but did manage to capture these few…of winter-cottage outdoor glory!

Fashion in February

Bah! So I admit, I haven’t been very good about photographing my outfits and making them into blogposts for you.

But if you’re following my Instagram Channel – then you’ll be able to see my Outfits of the Day as they happen.

Here’s a few quick snaps of some of the looks I rocked over the month.

Screen Shot 2016-02-27 at 5.58.15 PM
Ok!!! This Cognac brown “Indiana Jones” vibe hat was a whopping $5 buy (Reitmans)!!! Paired with brown booties and a new cross-body hassle purse (The Shoe Company). Bird dress was custom for moi in Vietnam, grey leggings from Old Navy and the long white sweater, is also from Reitmans.


Screen Shot 2016-02-27 at 5.58.30 PM
OK! Remember when I was trying to get to University’s Alumni Day this past Fall? And how I never made it cuz there was a crazy, bonkers, blow-out sale at Tatyanna Boutique on WQW? Well…that’s where I picked up with ruffley, frilly frock for only $8!!! Yup!!! $8!!! You can’t even buy the material for that price!   I added a touch of turquoise with the skinny belt and drop earrings…to pull out the colours from the polka-dots.    I unveiled this outfit  at February’s Vintage Spectacular Dance at The Great Hall to see the GTA Swing Band for a night of dancing with LindyHop Revolution ❤
Screen Shot 2016-02-27 at 5.58.44 PM
OK!! I finally got myself some “Cold Shoulder” action when I found this dress at Forever 21+. Got me looking like a 90s Fly Girl from In Living Colour… for a night of ‘clubbing’. Turns out, I am NOT a clubbing-type-girl. Ew.

February Recipe: Spaghetti Squash

Ok!  I just recently discovered this vegetable… and it has quickly become a new favourite!!!  Spaghetti Squash might be the easiest thing to cook, and just one will yield a ton of food!

baked-spaghetti-squash-garlic-butter-4564
THIS is a spaghetti squash

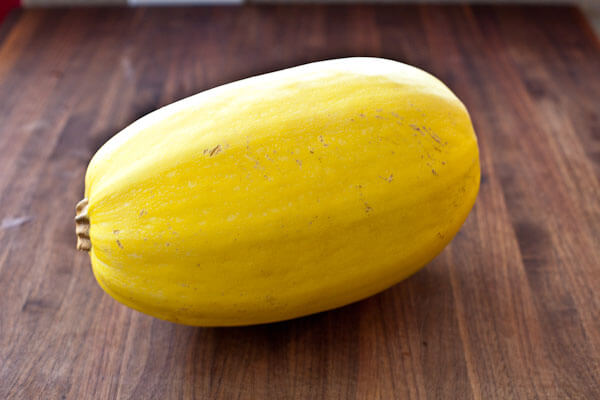
Spaghetti squash can be baked, boiled, steamed, and/or microwaved.  It can be served with or without sauce, as a substitute for pasta.   And the seeds can be roasted, similar to pumpkin seeds.

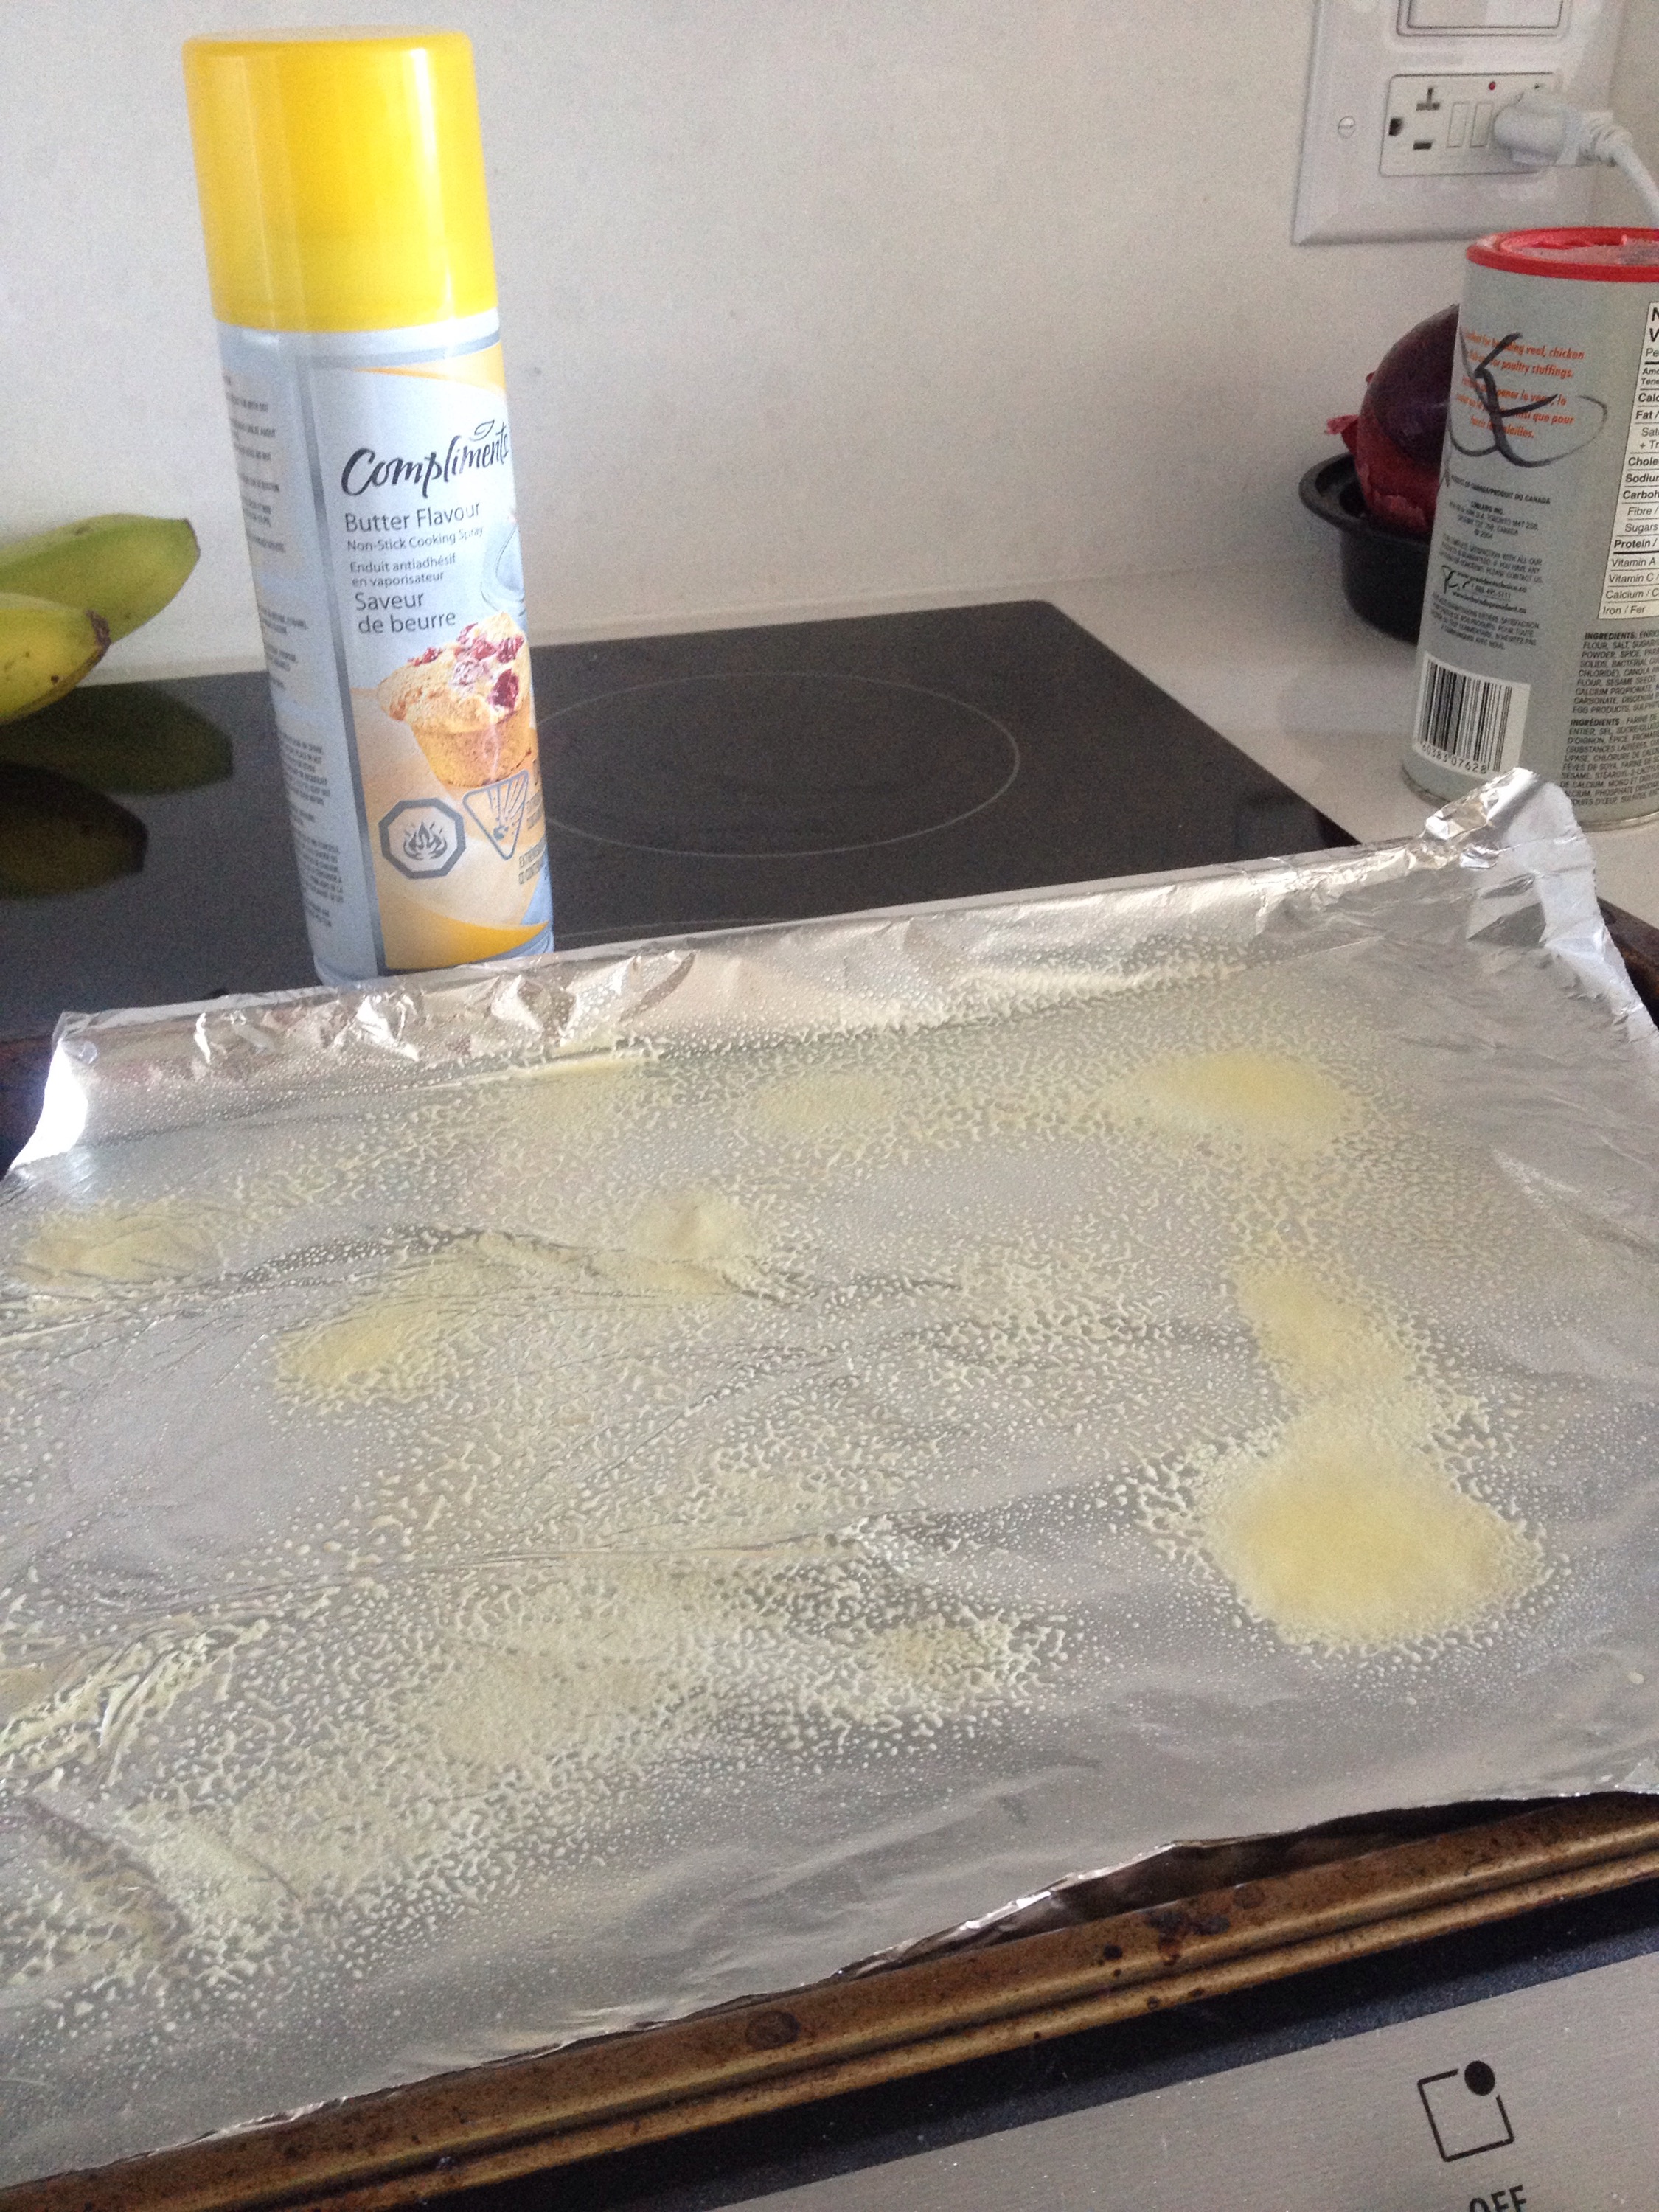
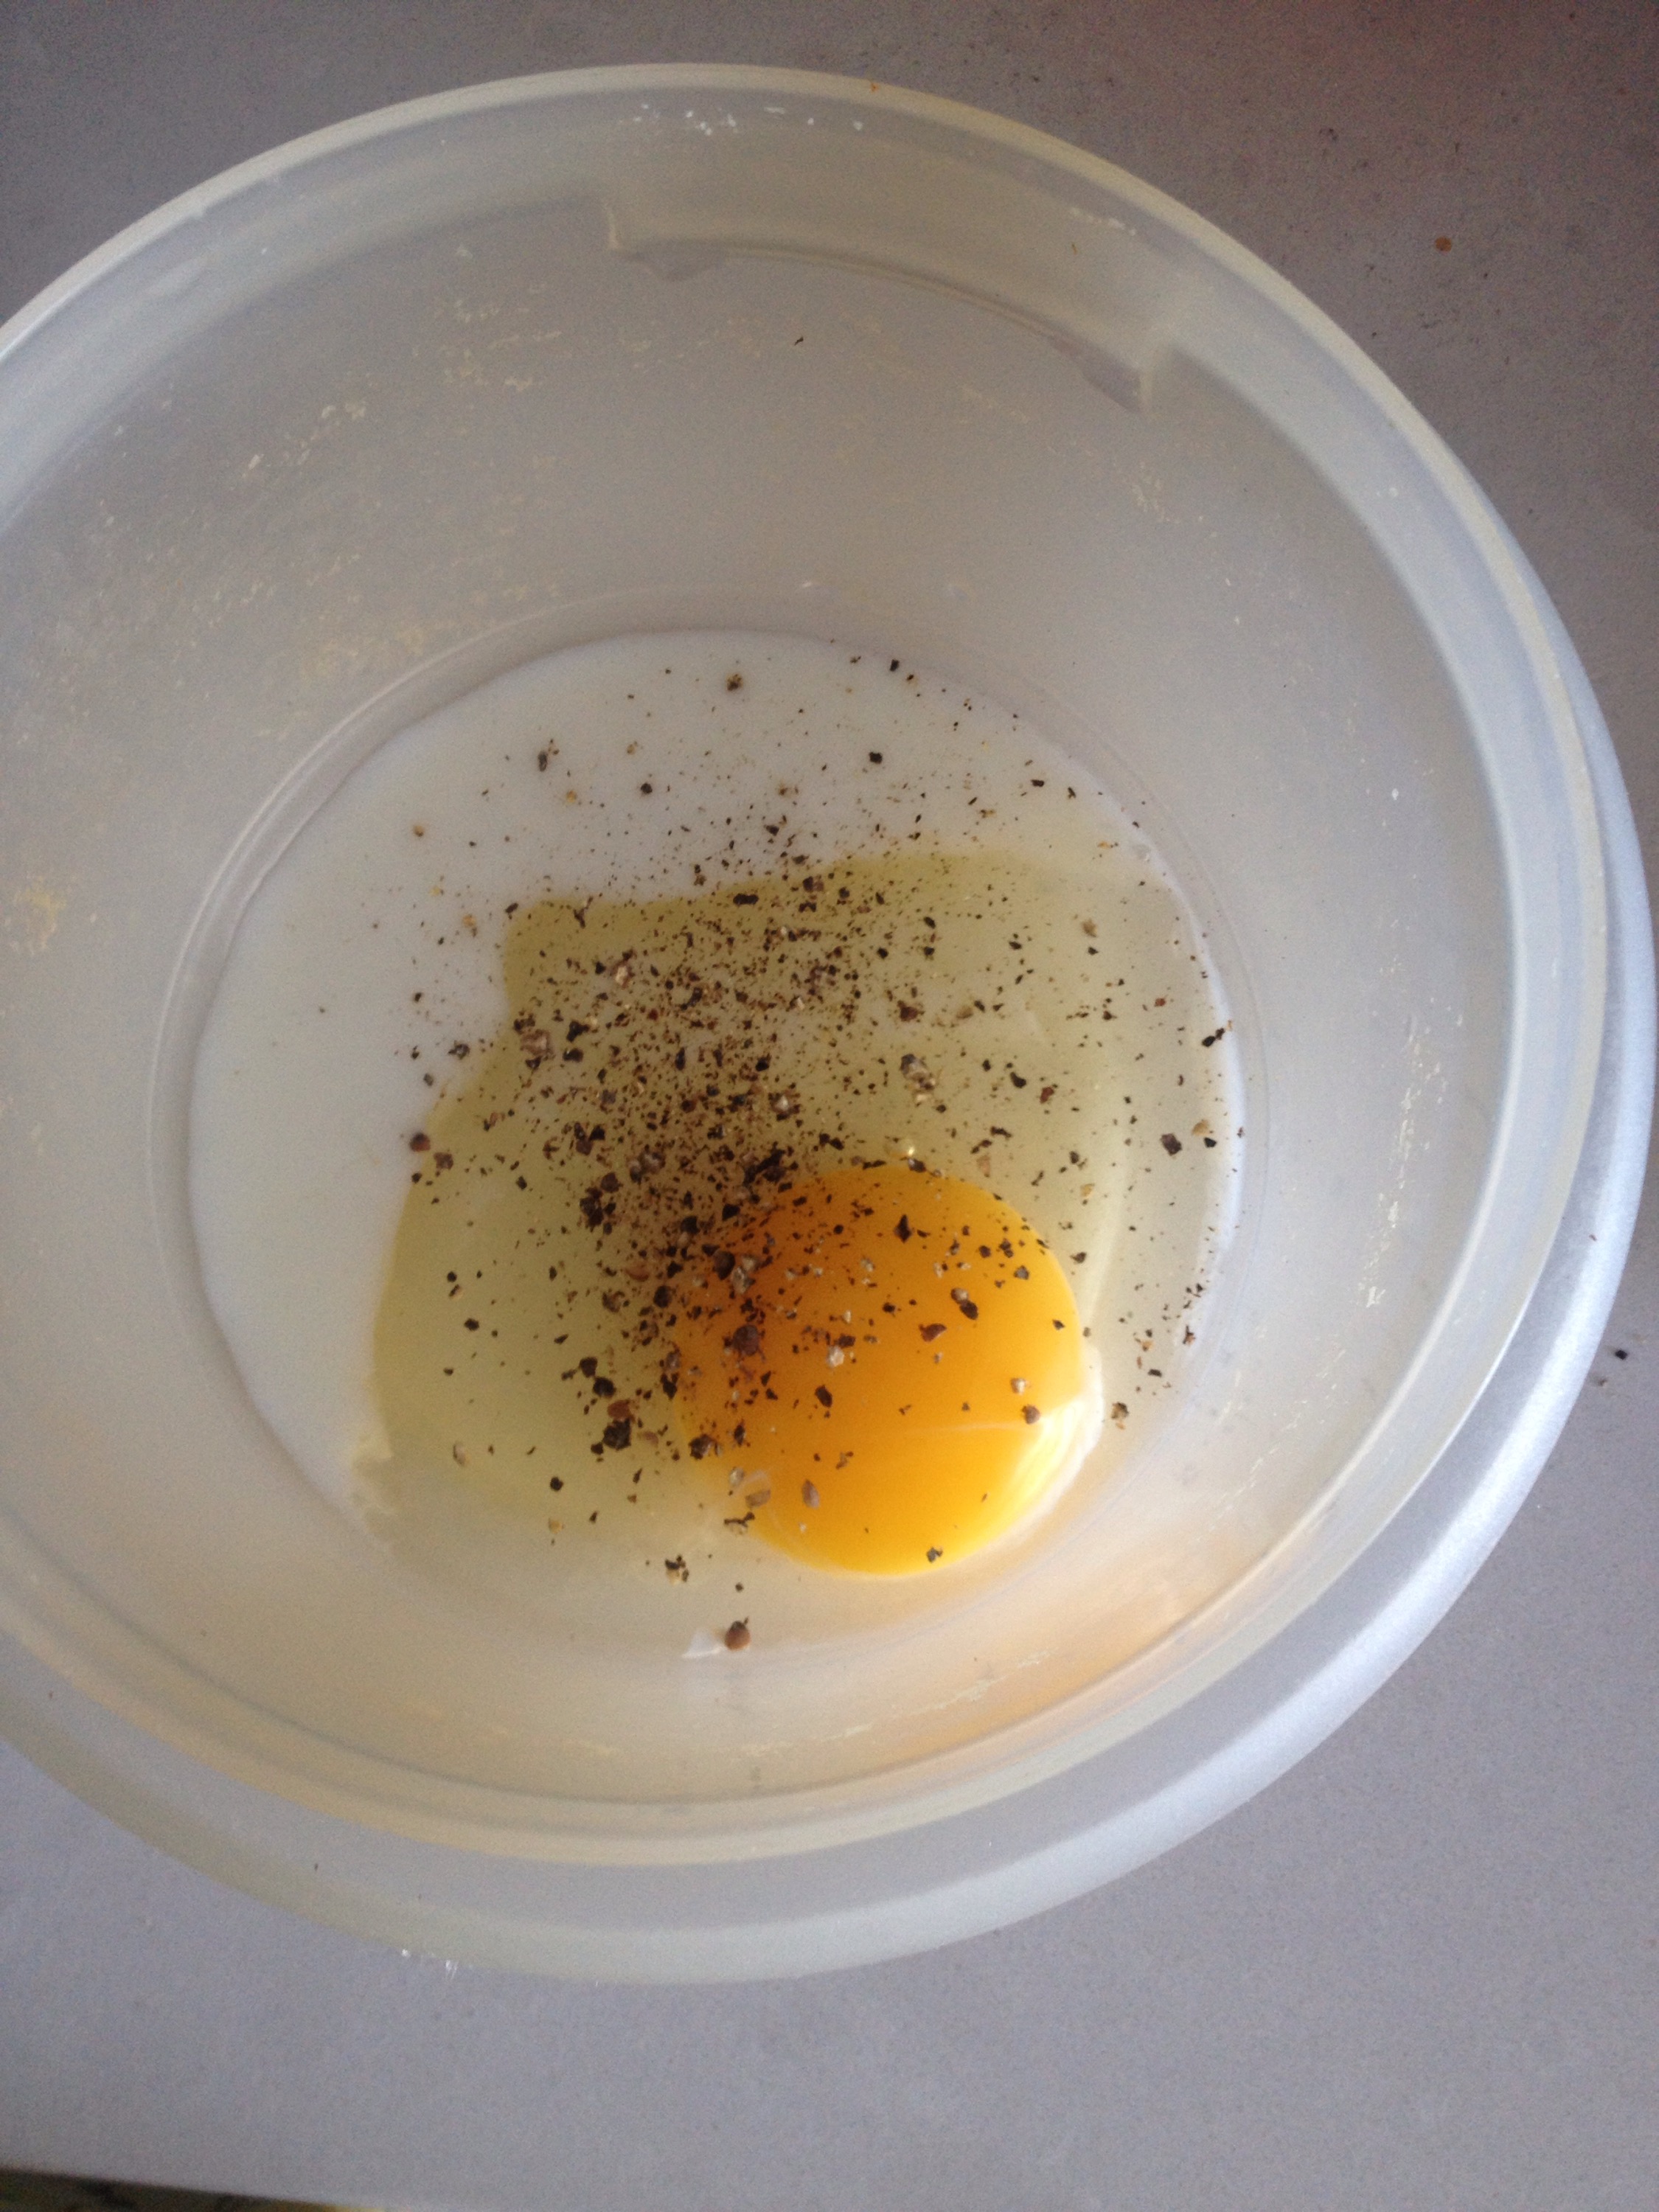
Here’s how I cooked it….

Screen Shot 2016-02-28 at 9.37.56 PM
STEP 1: Cut the sucker in half. Scrap out all the seeds and guts…just like you would a pumpkin.
Screen Shot 2016-02-28 at 9.38.12 PM
STEP 2: Salt n’ Pepper to taste, and pop half of it into the microwave on High for 11-minutes. Then let it sit and cool for about 3-5-mins until you can handle it.
Screen Shot 2016-02-28 at 9.37.43 PM
STEP 3: Use a fork and scrape away!!! ….ooo look at those pretty strands. ❤

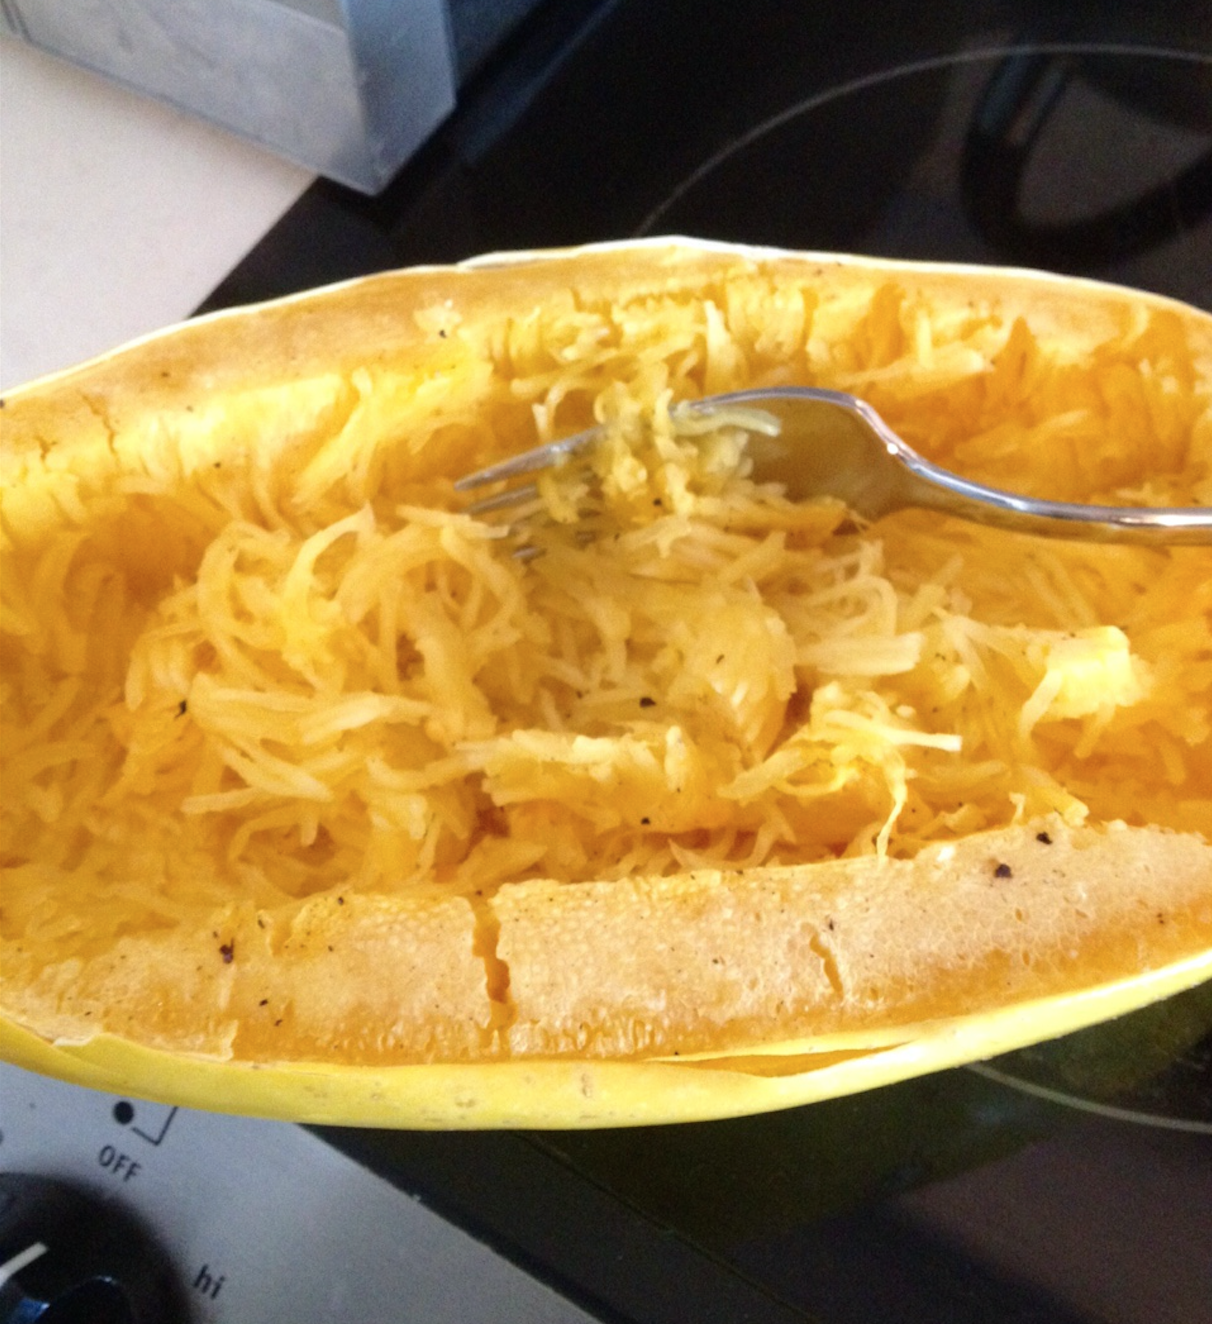
That’s basically it!  You can totally dig in and get to eating 🙂

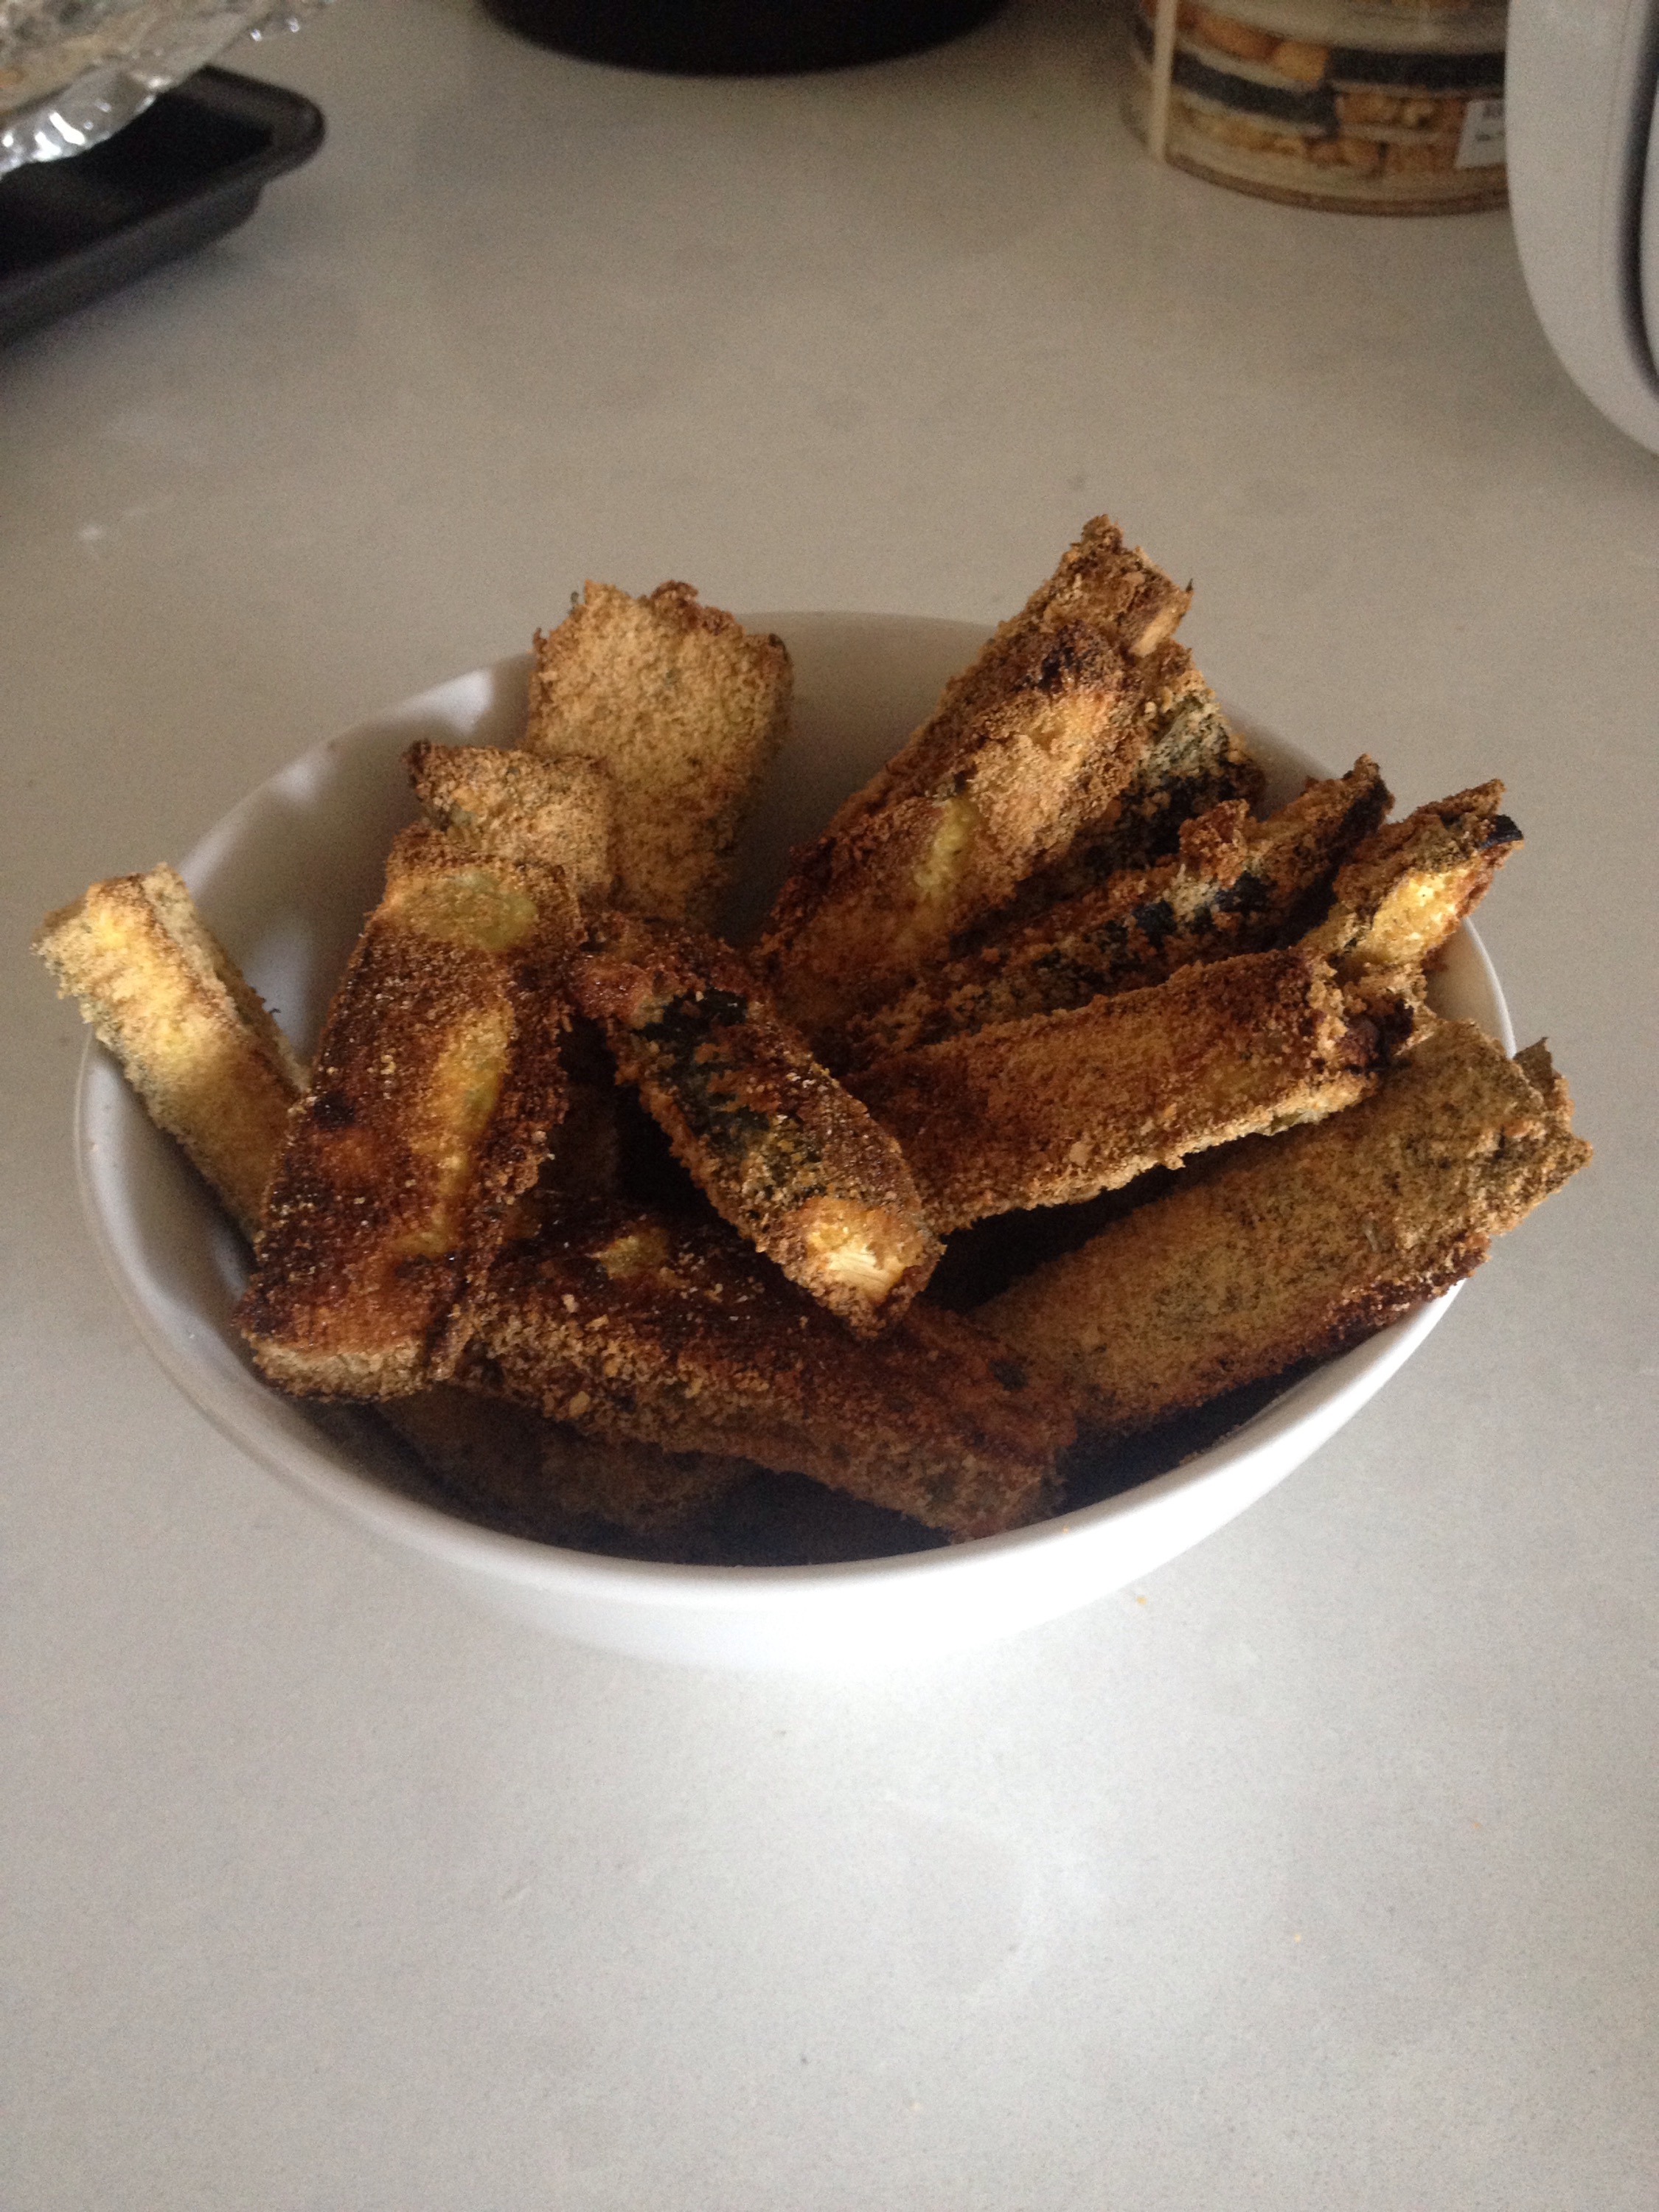
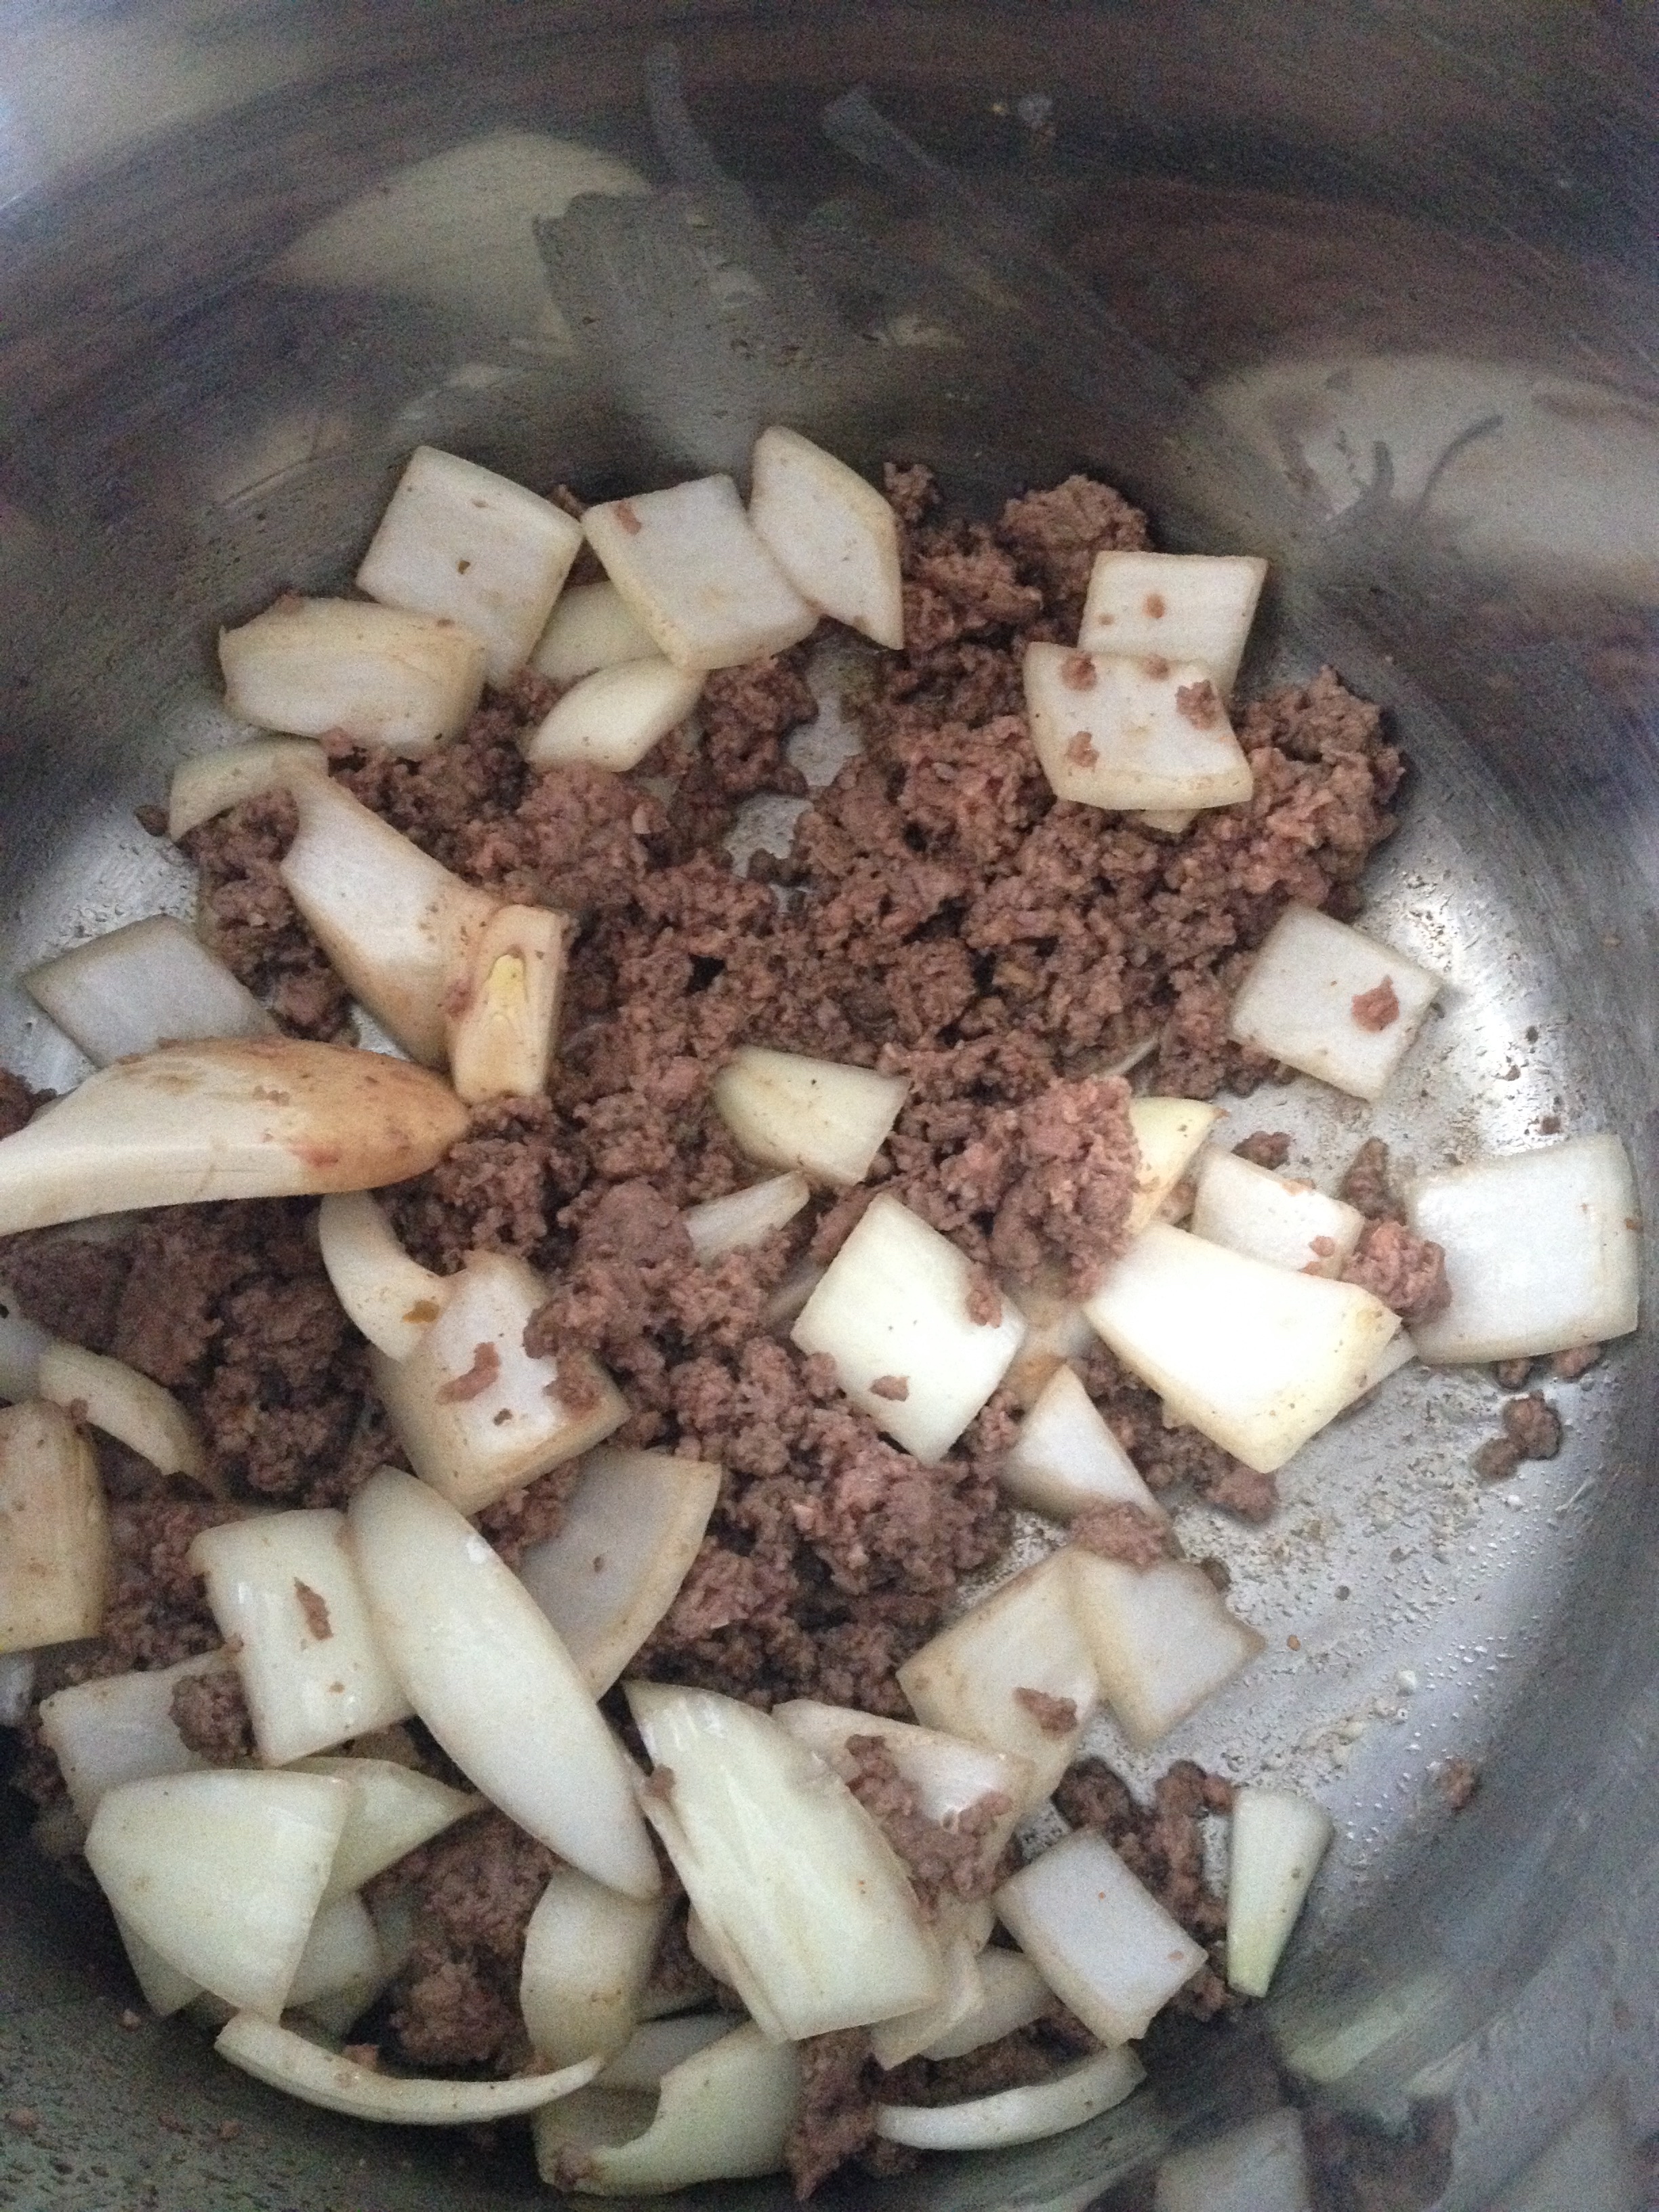
But if you wanna get a bit fancier…. you can sauté some onions, garlic, parsley, chilli flakes, etc. in a bit of butter….

Screen Shot 2016-02-28 at 9.38.34 PM
STEP 4: Getting Fancy… sauté up some onions, garlic, chilli flakes in butter…and add some protein even (like shrimp, tuna, leftover anything)
Screen Shot 2016-02-28 at 9.42.16 PM
VOILA!!! Fancy sautéed Spaghetti Squash with Shrimp

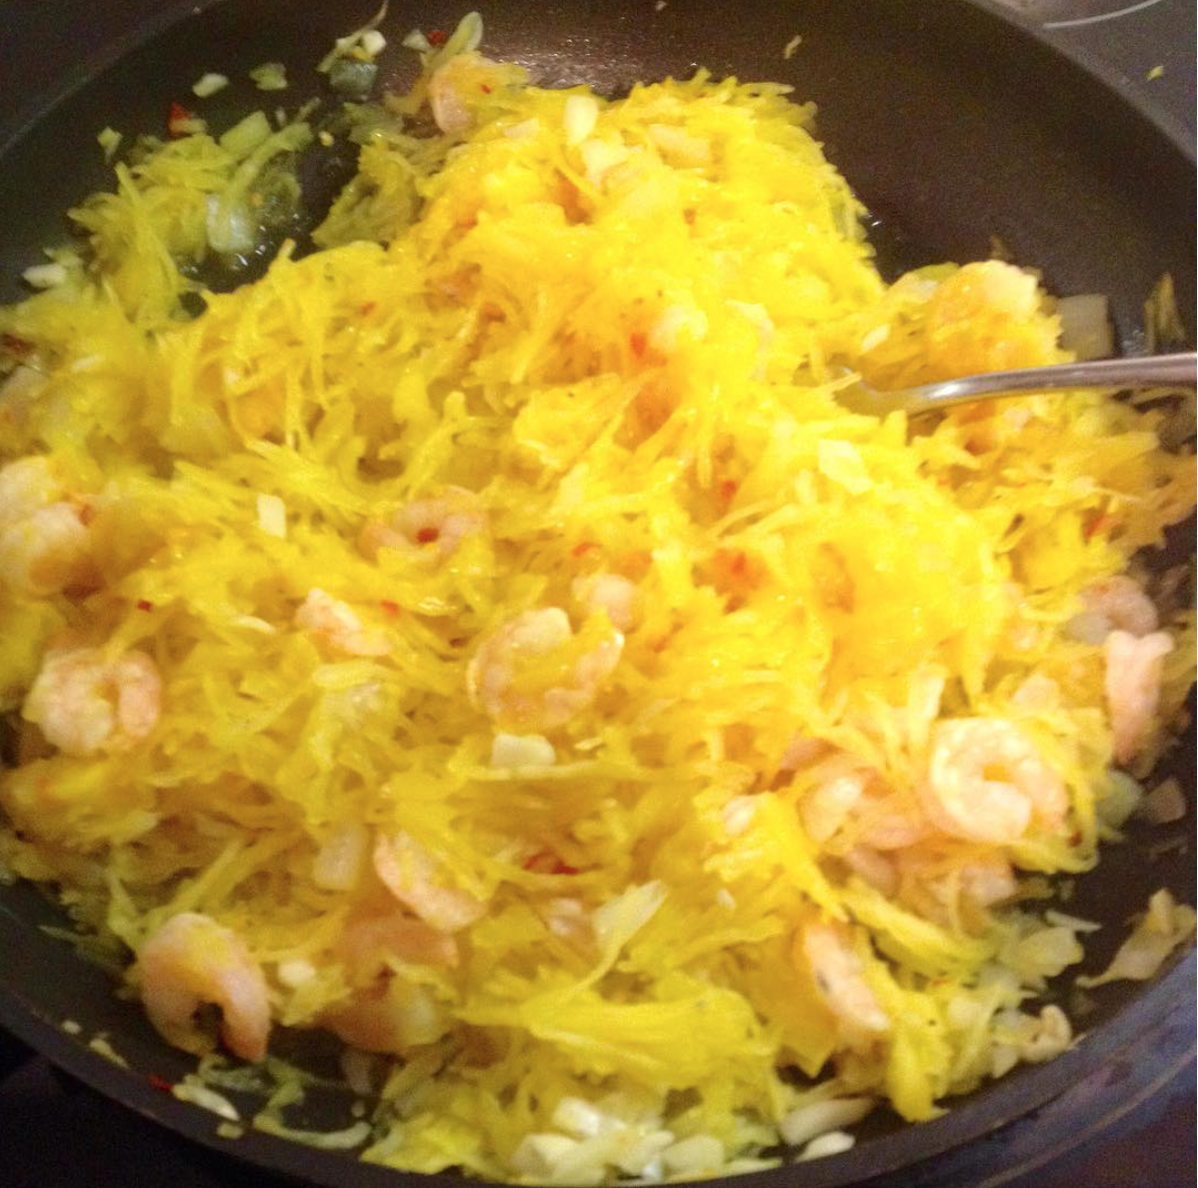
Waddya think of this recipe?  Think you’re gonna try it out yourself?  Super easy right! 🙂

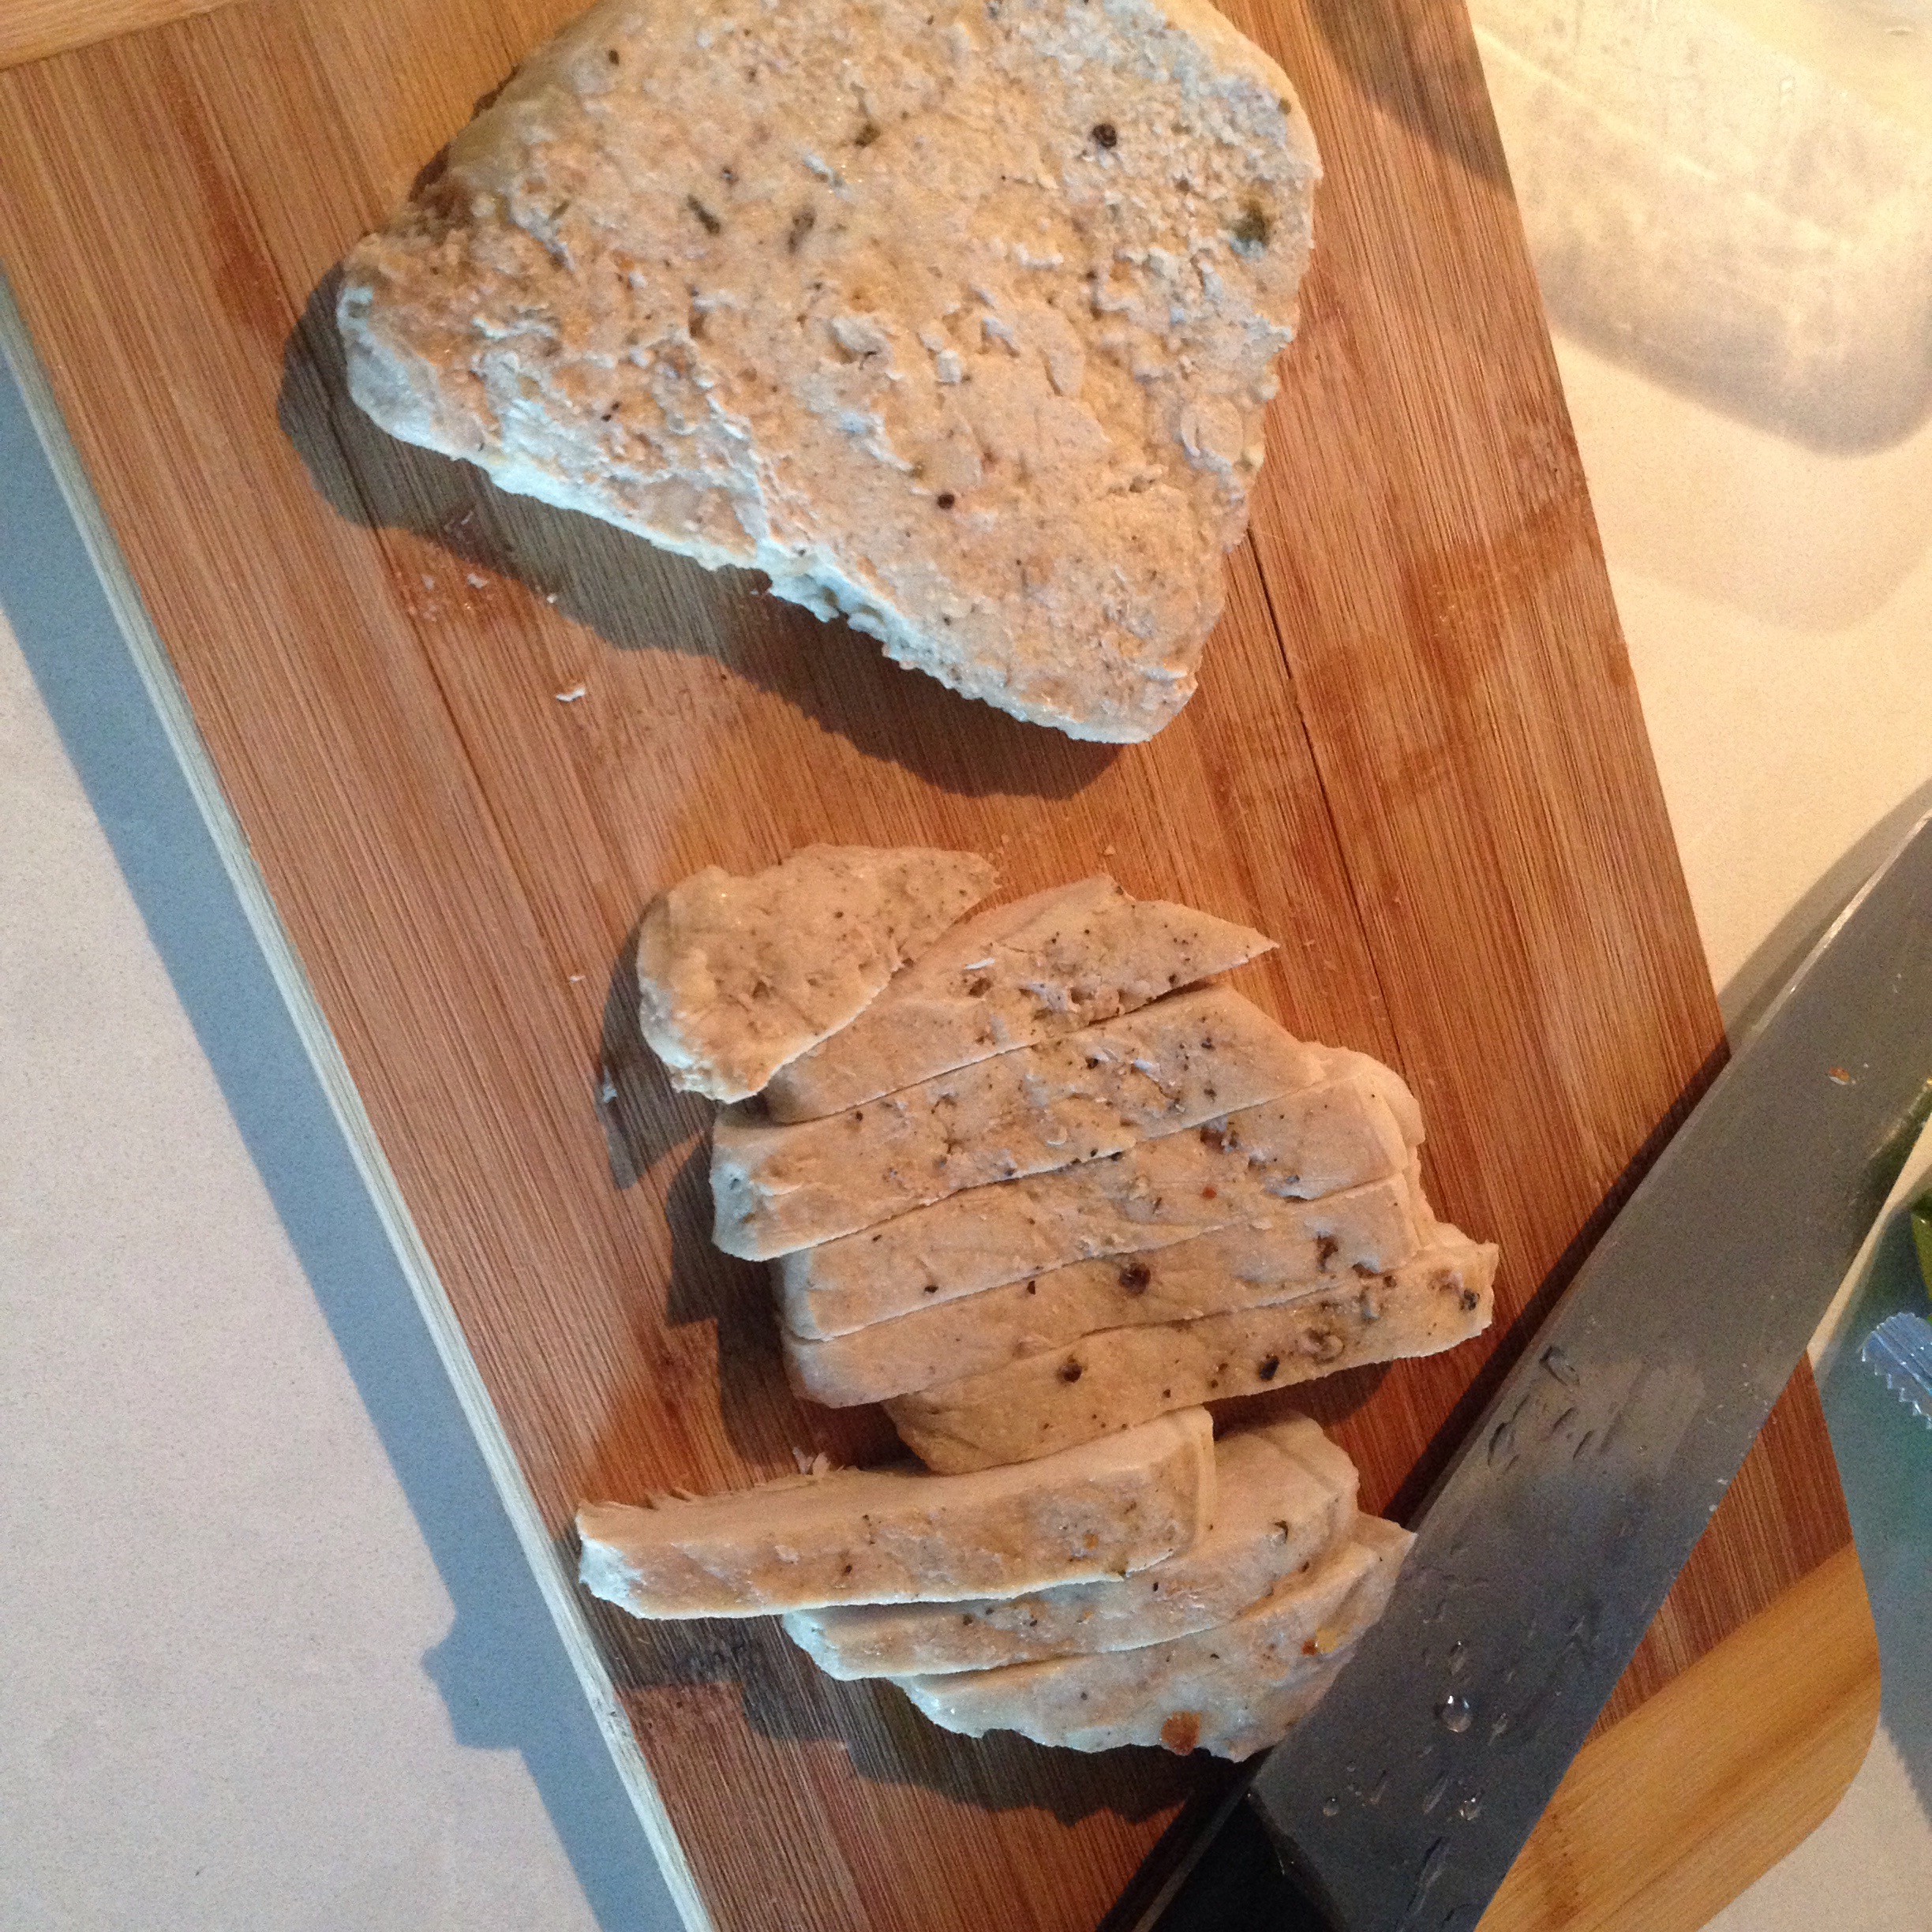
I cooked up the other half of the spaghetti squash and served it up with some left over salmon from early that week (see image below) – just as delicious!

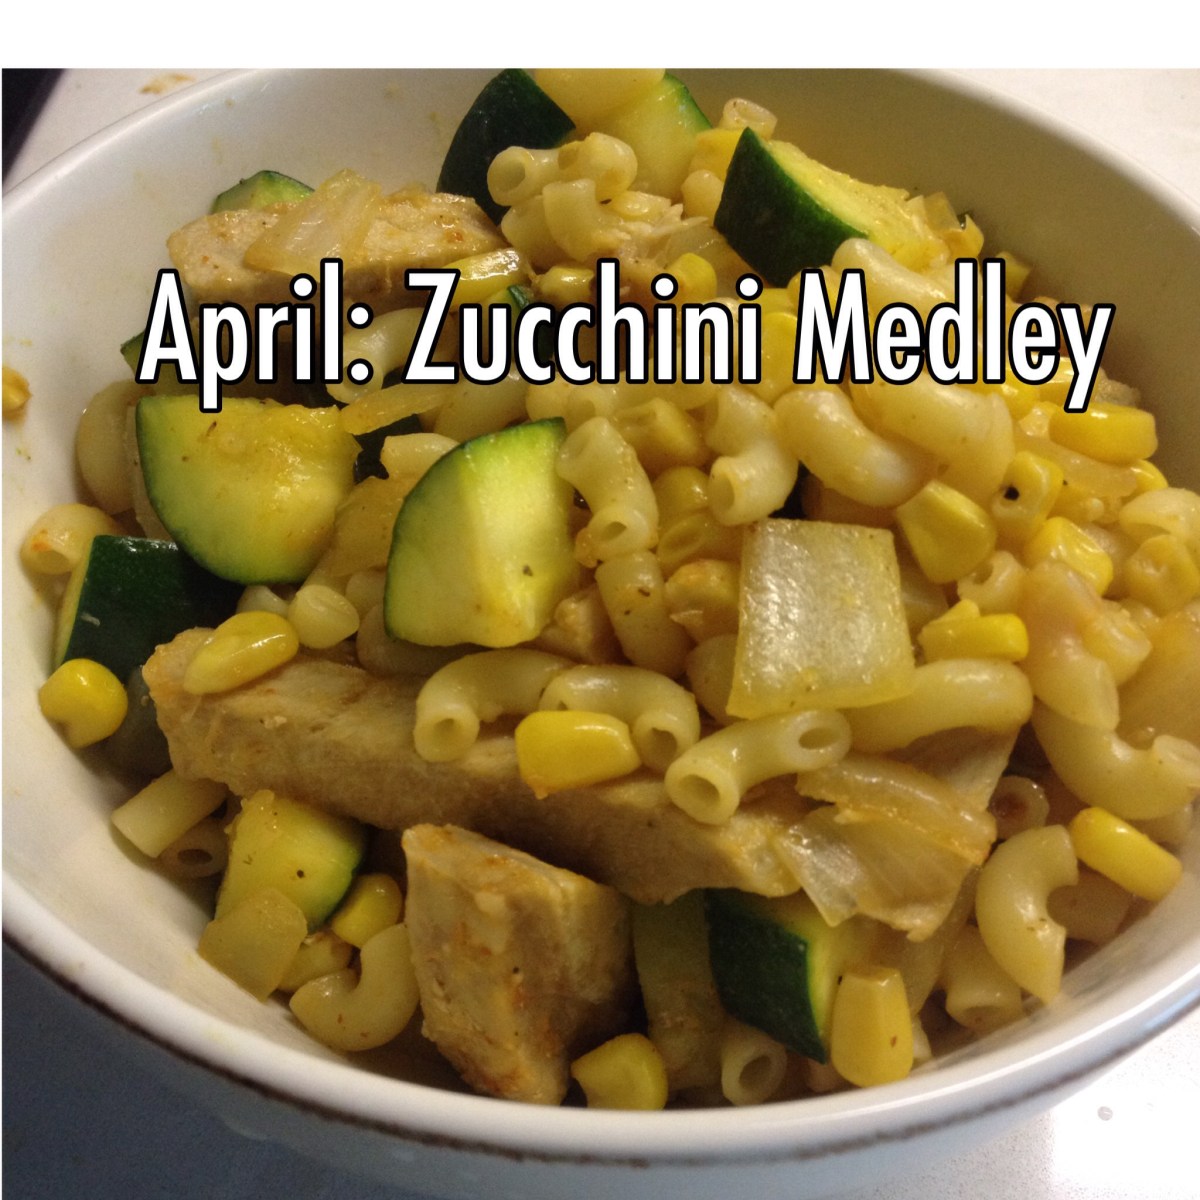
I’ve found this Zucchini and Spaghetti Squash “Lasagna” that I’m gonna try out next…stay tuned to my Instagram to see how that turns out!

Want more PPMeow Kitchen Mis/Adventures?  click here, here, here, here… #PPMeowCooks on Instagram too 😉

Have you LIKE’d the Petite Plus, Meow’s Facebook Page yet?

LIKE. Comment. Share.

PPMEOW logo1image-4

August & September: Chef’s Plate


Can you believe we’re at the beginning of September already!?  Geez….

And with the end of the month comes another culinary blogpost sharing my mis/adventures in the kitchen 🙂

My main mission for 2015 is a simple one:  Getting and Staying Happy.  In order to achieve this lofty goal I applied a START-STOP-CONTINUE approach.  And so I’ve decided to START cooking more.

Earlier this month, a gf of mine told me about a little service called CHEF’S PLATE  a fab service that has fresh ingredients & delicious recipes delivered weekly to your door!

chefs-plate-logoAs much as I love cooking, it can sometimes be overwhelming never really knowing how much of an ingredient to buy and have it go bad in your fridge before you get to use it all up.  And if you’re like me, often you fall into a rut of always cooking the same ol’ thing.

Chef’s Pate gets you unique dishes already planned out for you, with zero wasted food!

Here’s how it works…

  1. They create 6 weekly menu options and put all the pieces you need to create them for you..
  2. You pick out how many meals you want delivered: 2, 2-servings meals OR 3, 2-seving meals.
  3. They deliver the exact ingredients you need to your door.
  4. You cook the food and eat the food.

It’s Freakin’ Brilliant!

A recap of my very first order on the last week of August…

My First Order

I used a referral code from a gf …which gave her 2 meals for free….. and it got me 4 meals for FREE!!!!

(Do YOU want 4-free-meals too?  Use this Referral Code:  #PETITEPLUSMEOW  and  Click here)

On Monday afternoon, a delivery man came right up to my apt door and delivered a refrigerated box of food:

Inside my box was the exact ingredients to make 3, 2-serving meals.  Here’s what I ordered and cooked up my very first week:

IMG_8557MEAL 1: CHARRED AVOCADO AND CUMIN SPICED QUINOA SALAD with kidney beans and red bell peppers

The prep. READ the entire cooking card fully before you being. This way you can get all the pans/knives/bowls ready to roll before you get your hands dirty.

This meal was rated “EASY” …and I have to agree, it was.  Took less than 30-mins to get all the pieces prepped and ready.  It was perfect for lunchtime, with leftovers for another meal during the week.

Total calories per serving: 725

The Final Results – Platted!

MEAL 2: PISTACHIO CRUSTED STEAK with smashed fingerling potatoes and dino kale

Now this meal was a bit more difficult than the first.  It required both oven and stove, and my slap-chop for chopping up the nuts.

But in the end … look at how beautiful this steak turned out.

THIS was my favourite meal of the week!!!! So delicious! And the leftover portions were just as tasty!

Took just about 30-mins also … and was 730 calories per serving 🙂

The Final Results – pictured perfect, right?  Soo good!

MEAL 3: PAN SEARED SNAPPER over THAI BLACK RICE served with steamed broccolini

This last one was a bit more challenging also – but so long as you read and follow the steps as the card says, you’ll be fine!

FullSizeRender-13

This was my first time cooking Thai Black Rice.  Cooking it in the rich coconut milk added such amazing savoury flavours to the fish and broccolini.

This one was also about 30-mins from prep-to cook-into my mouth  and was 830-calories per serving. 🙂

FullSizeRender-14
The Final Results. Check me out …getting much better at the platting huh, like a REAL Chef 🙂

Curious to see how much do you ACTUALLY save with Chef’s Plate vs. Buying your own groceries?

Me too!  Click here to read more.

You can visit my Instagram page and look for the hashtag #PPMeowCooks for more adventures in my kitchen.

I just got THIS week’s refrigerated box delivery with brand new meal ideas within!

Can’t wait to get cooking – stay tuned to my Instagram channel to see how they turn out

So, you think YOU wanna try it?  Get your 1st FOUR meals for free by using this link friends!  You’re Welcome!!!

I’ve also created a sub-menu on my homepage under REVIEWS on the homepage for you – my readers –  to find them easily…and hopefully try a few yourself. 🙂

Have you LIKE’d the Petite Plus, Meow’s Facebook Page yet?

LIKE. Comment. Share.   🙂

PPMEOW logo1IMG_8561IMG_0035
FullSizeRender-14

July: Kale Medley

My main mission for 2015 is a simple one:  Getting and Staying Happy.  In order to achieve this lofty goal I applied a START-STOP-CONTINUE approach.  And so I’ve decided to START cooking more – using recipes I’ve never tried before and sharing my culinary mis/adventures on the blog once a month.

PS: I realize I've spelt KALE wrong here...forgive me  friends.  I (can't find original pic to alter text now)
PS: I realize I’ve spelt KALE wrong here…forgive me friends. (I can’t find original pic to alter text now.)

July’s recipe: Kale Medley

I’ve only recently began cooking with kale over the last few month, having heard about all of its many health and nutritional benefits.  Kale, I find, is quite bitter on its own as salad, so often I eat it stir-fried, steamed or sautéed.

I have heard it is tasty baked, added to a stew or blended into a smoothie…but I personally haven’t tried any of these myself.

Summer has kept me super busy so far … but I have found myself cooking more often.  If you’re following me on Instagram then you know most of my adventures in the kitchen usually begin without a plan, but rather a desperate need to use up the last of the contents in my fridge before they spoil or before I’m leaving on a trip somewhere.

So here’s a quick and tasty way to sauté your veggies into a Kale Medley.

Ingredients

  • One bunch kale
  • 2 cloves garlic, crushed (you can never have too much garlic, but that’s just me)
  • Olive oil
  • 2 tomatoes
  • Lemon juice (half a lemon) or white wine vinegar (optional)
  • Salt
  • Pepper
  • Chili flakes
  • + Whatever veggies you want

STEPS:

  1. Wash the kale thoroughly, and pat dry.
  2. Slice or chop kale roughly, into bite-sized pieces.
  3. Heat a skillet over medium heat. Add olive oil and lightly brown crushed garlic. Watch it closely!
  4. Dice your tomatoes and add to pan.  This will create a tasty base coat to the kale leaves.
  5. When garlic is lightly brown, quickly add kale.
STEP 6: Stir and toss until kale is coated with tomatoes, chill flakes and add other veggies and let the kale steam and slightly soften. Check the kale after about 3 minutes. It should be soft, still bright green, and NOT soggy.   OPTIONAL: When it’s softened, and just before serving, add your lemon juice (or vinegar). Taste and season with salt and pepper and serve.
OPTIONAL: I added instant cooked rice directly to the pan and leftover cold cuts to make this an easy one-pan-dinner to yield leftovers for the next day.
TAH-DAH! Kale Medley Rice Bowl!

Now, I’ve recently read a few articles speaking about “The Darker Side of Kale” … as there have been some findings that eating this veggie raw isn’t good for you.  Cooking it seems to help eliminate some of the concerns.  Still, it’s probably best not to go overboard with kale and to simply integrate it into an overall healthful diet full of other fruits and vegetables.

Have you tried cooking with kale?  Will you?  Let me know what you think of this recipe in the comments below.

Want other PPMeow recipes?  You can visit my Instagram page and look for the hashtag #PPMeowCooks for more adventures in my kitchen.

I’ve also created a sub-menu on my homepage under REVIEWS on the homepage for you – my readers –  to find them easily…and hopefully try a few yourself. 🙂

10906226_10152651172474072_5812997238489960370_n1374781_307990329410052_2474957954090425852_n

IMG_6644IMG_7393IMG_7394IMG_7395

Have you LIKE’d the Petite Plus, Meow’s Facebook Page yet?

LIKE. Comment. Share.PPMEOW logo1

June: Yo’Berries

Alright friends — if you’re following me on Instagram then you know most of my adventures in the kitchen usually begin without a plan, but rather a desperate need to use up the last of the contents in my fridge before they spoil or before I’m leaving on a trip somewhere.

Well, it was this need that yielded this month’s easy peasy recipe that i’m fondly calling Yo’Berries!  Get it –> yogurt covered berries… Yo’Berries.  I’m hilarious 😉IMG_7395

My main mission for 2015 is a simple one:  Getting and Staying Happy.  In order to achieve this lofty goal I applied a START-STOP-CONTINUE approach.  And so I’ve decided to START cooking more – using recipes I’ve never tried before and sharing my culinary mis/adventures on the blog once a month.

With summer finally here…here’s an easy, creamy, icy, sweet treat that isn’t bad for you 🙂

June’s recipe:  Yo’Berries

Ingredients:

– 1 (6oz) Container of fresh blueberries

– 1 (6oz) container non-fat vanilla yogurt. NOTE: Greek yogurt could totally work too.

IMG_7377
STEP 1: Start by washing your blueberries and mini ice-cube trays. (Alternatively you could lining a small baking sheet with wax paper.)

IMG_7378
STEP 2: Place 1 to 2 blueberries into each cube, and cover with a dollop of yogurt. Continue this until all blueberries are coated. (Alternative: using a toothpick, dip each blueberry into the yogurt and swirl until the blueberry is nicely coated with yogurt. Place on baking sheet.)

IMG_7391
STEP 3: Place ice-cube trays into freezer, and let freeze for at least 1-hour.

IMG_7392
STEP 4: After about an hour, your Yo’Berries can be put in a ziplock baggie and stored in the freezer. Take out what you need for tasty creamy icy treat and enjoy your guilt-free snack! 🙂
What do you think of this recipe?  Do you think you’d give it a try yourself?  How would you improve or change it for the better?  Tell me your thoughts in the comments section below.

IMG_7395

Want other PPMeow recipes?  You can visit my Instagram page and look for the hashtag #PPMeowCooks for more adventures in my kitchen.

I’ve created a sub-menu on my homepage under REVIEWS on the homepage for you – my readers –  to find them easily…and hopefully try a few yourself. 🙂

Screen Shot 2015-01-11 at 4.03.15 PM


10906226_10152651172474072_5812997238489960370_n1374781_307990329410052_2474957954090425852_n

IMG_6644IMG_7393IMG_7394Have you LIKE’d the Petite Plus, Meow’s Facebook Page yet?

LIKE. Comment. Share.PPMEOW logo1


May: Zucchini Fries

I know.  I know.  I’m on a bit of a zucchini kick.  Buuuuut they’re soooo delicious and plentiful at grocery stores right now.

So we’re getting another Zucchini recipe for May!

My main mission for 2015 is a simple one:  Getting and Staying Happy.  In order to achieve this lofty goal I applied a START-STOP-CONTINUE approach.  And so I’ve decided to START cooking more – using recipes I’ve never tried before and sharing my culinary mis/adventures on the blog once a month.

I’ve even created a sub-menu on my homepage under REVIEWS on the homepage for you – my readers –  to find them easily…and hopefully try a few yourself. 🙂

May’s recipe:  Zucchini Fries

These are light and lean, as these zucchini  strips get breaded and baked, instead of thrown into a deep fryer.  AND if you wanted, you could just use egg whites to lower the cholesterol content.

Ingredients:

  • 2 zucchini
  • 1 egg
  • 1/4 cup milk
  • 1/2 cup shredded Parmesan cheese **optional**
  • 1/2 cup seasoned breadcrumbs
  • Vegetable cooking spray
STEP 1: Preheat oven to 425° and coat a baking sheet with cooking spray.  
STEP 1: Preheat oven to 425° and coat a baking sheet with cooking spray.
IMG_7368
STEP 2: Whisk an egg white in a small bowl, and add milk. Add ground pepper and salt here if you like.
STEP 3: Cut zucchini into 3-inch sticks and STEP 4: Dip zucchini sticks into egg mixture.
STEP 5: Then roll each stick into the breadcrumb mixture (combine parmesan and seasoned breadcrumbs in a separate bowl.      I’ve used store bought PC Italian Herb breadcrumbs.  OPTION: You could use that Japanese panko crumbs too!
STEP 6:  Place zucchini on sheet. Bake for 25–30 minutes or until golden brown.  (FYI: This is the amount 1 zucchini yielded.)
IMG_7375
STEP 7: Eat them!

Who doesn’t love crunchy finger foods that are easy to make, good for you and shareable? 🙂

IMG_7553
Variation: here’s what they look like when covered in Japanese Panko Breadcrumbs  – they are oh-so delicious!

What do you think of this recipe?  Do you think you’d give it a try yourself?  How would you improve or change it for the better?  Tell me your thoughts in the comments section below.

Have you LIKE’d the Petite Plus, Meow’s Facebook Page yet?

LIKE. Comment. Share.

PPMEOW logo1IMG_7394

April: Zucchini Medley

It’s the LAST day of April.  And you know what that means:  a new recipe idea from PPMeow!

My main mission for 2015 is a simple one:  Getting and Staying Happy.  In order to achieve this lofty goal I applied a START-STOP-CONTINUE approach.  And so I’ve decided to START cooking more – using recipes I’ve never tried before and sharing my culinary mis/adventures on the blog once a month.

I’ve even created a sub-menu on my homepage under REVIEWS on the homepage for you – my readers –  to find them easily…and hopefully try a few yourself. 🙂

Screen Shot 2015-01-11 at 4.03.15 PM

April’s recipe:  Zucchini Medley

With the weather warming up, summer veggies start showing up in my grocery list! I’m trying to incorporate more GREEN veggies into my diet on the regular.

Zucchini is one of my favourites … super tasty, and provides a lot of nutrients for very few calories.  Did you know its a type of summer squash?

Here’s an Irene One-Pan-Original…

Ingredients:

  • 1 teaspoon olive oil
  • 3 1/2 cups cubed zucchini (about 1 large one)
  • 1 cup frozen whole-kernel corn
  • 1 cup of diced onions
  • 1 tablespoon chopped fresh cilantro **optional**
  • 1 teaspoon fresh lime juice **optional**
  • 1/4 teaspoon salt
  • 1/8 teaspoon freshly ground black pepper
STEP 1: Heat oil in a large non-stick skillet over medium-high heat. Add zucchini, onions and corn.  Let it cook, stirring occasionally, for 7 to 8 minutes or until zucchini is crisp-tender. .

I LOVE SPICE! So I added a few shakes of cayenne chilli to the pan’s veggies too.  Remove from heat, and stir in cilantro and remaining ingredients.

And voila!  A fresh, light zucchini medley!

NOW, If you wanted to make it more of a filling meal – you can totally add a protein and carb of your choice.

I had some leftover pork chops …. so I cut them up and threw it in the pan with the other veggies for a bit…

STEP 2: Add a protein of your choice. I went with these leftover pork chops – cut them up into strips and add to veggie pan.
STEP 3: Cook pasta as per package directions. And add it to your pan of veggies and meat.

And …TA-DAH!

Dinner’s ready with only one-pan to clean …. plus leftovers for lunch the next day 🙂

This veggie medley is a keeper! 🙂

What do you think of this recipe?  Do you think you’d give it a try yourself?

How would you improve or change it for the better?  Tell me your thoughts in the comments section below.

Have you LIKE’d the Petite Plus, Meow’s Facebook Page yet?

LIKE. Comment. Share.

PPMEOW logo1

IMG_7393

March: Easy Chilli

Cooking is good for the mind, heart and soul.  Especially when shared with others.

My main mission for 2015 is a simple one:  Getting and Staying Happy.  In order to achieve this lofty goal I applied a START-STOP-CONTINUE approach.  And so I’ve decided to START cooking more – using recipes I’ve never tried before and sharing my culinary mis/adventures on the blog once a month.

I’ve even created a sub-menu on my homepage under REVIEWS on the homepage for you – my readers –  to find them easily…and hopefully try a few yourself. 🙂

March’s recipe:  Easy Chilli

I’m all about one-pot cooking, if I can help it.  What’s great about chilli is that you can make a batch and freeze it in the proper portions for those nights when you get home late aren’t in the mood to cook.  Plus, a big pot of chilli is perfect for sharing with a bunch of friends on a cold March night in with games and Netflix! Just sayin’…

Ingredients (approx. 4-6 bowls worth):

  • 1 lb extra lean ground beef
  • 1⁄2 large chopped onion
  • 2 peppers (red & green for colour)
  • 1+ gloves of garlic, chopped (or garlic powder works too, as much as desired)
  • 1 can diced tomatoes, undrained
  • 1 tablespoon  chili powder (more if you like it spicy)
  • 3 tablespoons of Tex-Mex seasoning
  • 1⁄4teaspoon  salt
  • 1⁄4teaspoon  pepper
  • 1 can of mixed beans, rinsed and drained or 1 can black beans, if preferred to keep it fiber-full
IMG_6637
The Ingredients
IMG_6638
STEP 1: Cook beef, onion and garlic in 3 qt saucepan until beef is brown.
IMG_6639
STEP 2: Add diced tomatoes + water (the empty can’s worth). Let simmer on medium heat.
IMG_6640
STEP 3: Open & rinse can of beans.
IMG_6641
STEP 4: Chop up peppers into large chunks.  Add to pot.
IMG_6642
STEP 5: Add all your seasonings and stir well into the pot.
IMG_6643
STEP 6: Add beans to the pot.  Stir and allow to simmer on low-medium heat for 45-mins.
IMG_6644
STEP 7:     Eat!!!    Delicious with multigrain toast or crush a handful of tortilla chips over top. Feel free to add cheese too, if you like. Mmmmmmm!

What do you think of this recipe?  Do you think you’d give it a try yourself?  How would you improve or change it for the better?  Tell me your thoughts in the comments section below.

Have you LIKE’d the Petite Plus, Meow’s Facebook Page yet?

LIKE. Comment. Share.

PPMEOW logo1

February: Detox Water

Here we are…the end of month 2 of the New Year.  Crazy, huh?

My personal goal for 2015 is a simple one:  Getting and Staying Happy.  In order to achieve this lofty goal I applied a START-STOP-CONTINUE approach.  Cooking is good for the mind, heart and soul.  Especially when shared with others.  And so I’ve decided to START cooking more – using recipes I’ve never tried before and sharing my culinary mis/adventures on the blog once a month.

I’ve even created a sub-menu on my homepage under REVIEWS on the homepage for you – my readers –  to find them easily…and hopefully try a few yourself. 🙂

Buuuuut with my upcoming Asian Adventure looming (I fly on Friday – akk!), I haven’t had much time nor desire to try a new recipe.  Plus, the snowy-wintery-weather hasn’t got me out socializing as much as I used to. Needless to say, I haven’t been very motivated in the kitchen this month.thing

In an effort to stick with my monthly commitment to PPMeow, I was determined to share something.

February’s recipe:  Detox Water

Detox waters have become very popular and there are many different recipes that you can make.

These waters contain ingredients like lemon which helps to flush harmful toxins from your body, mint which aids in digestion, cucumber which contains anti-inflammatory properties.

IMG_6605
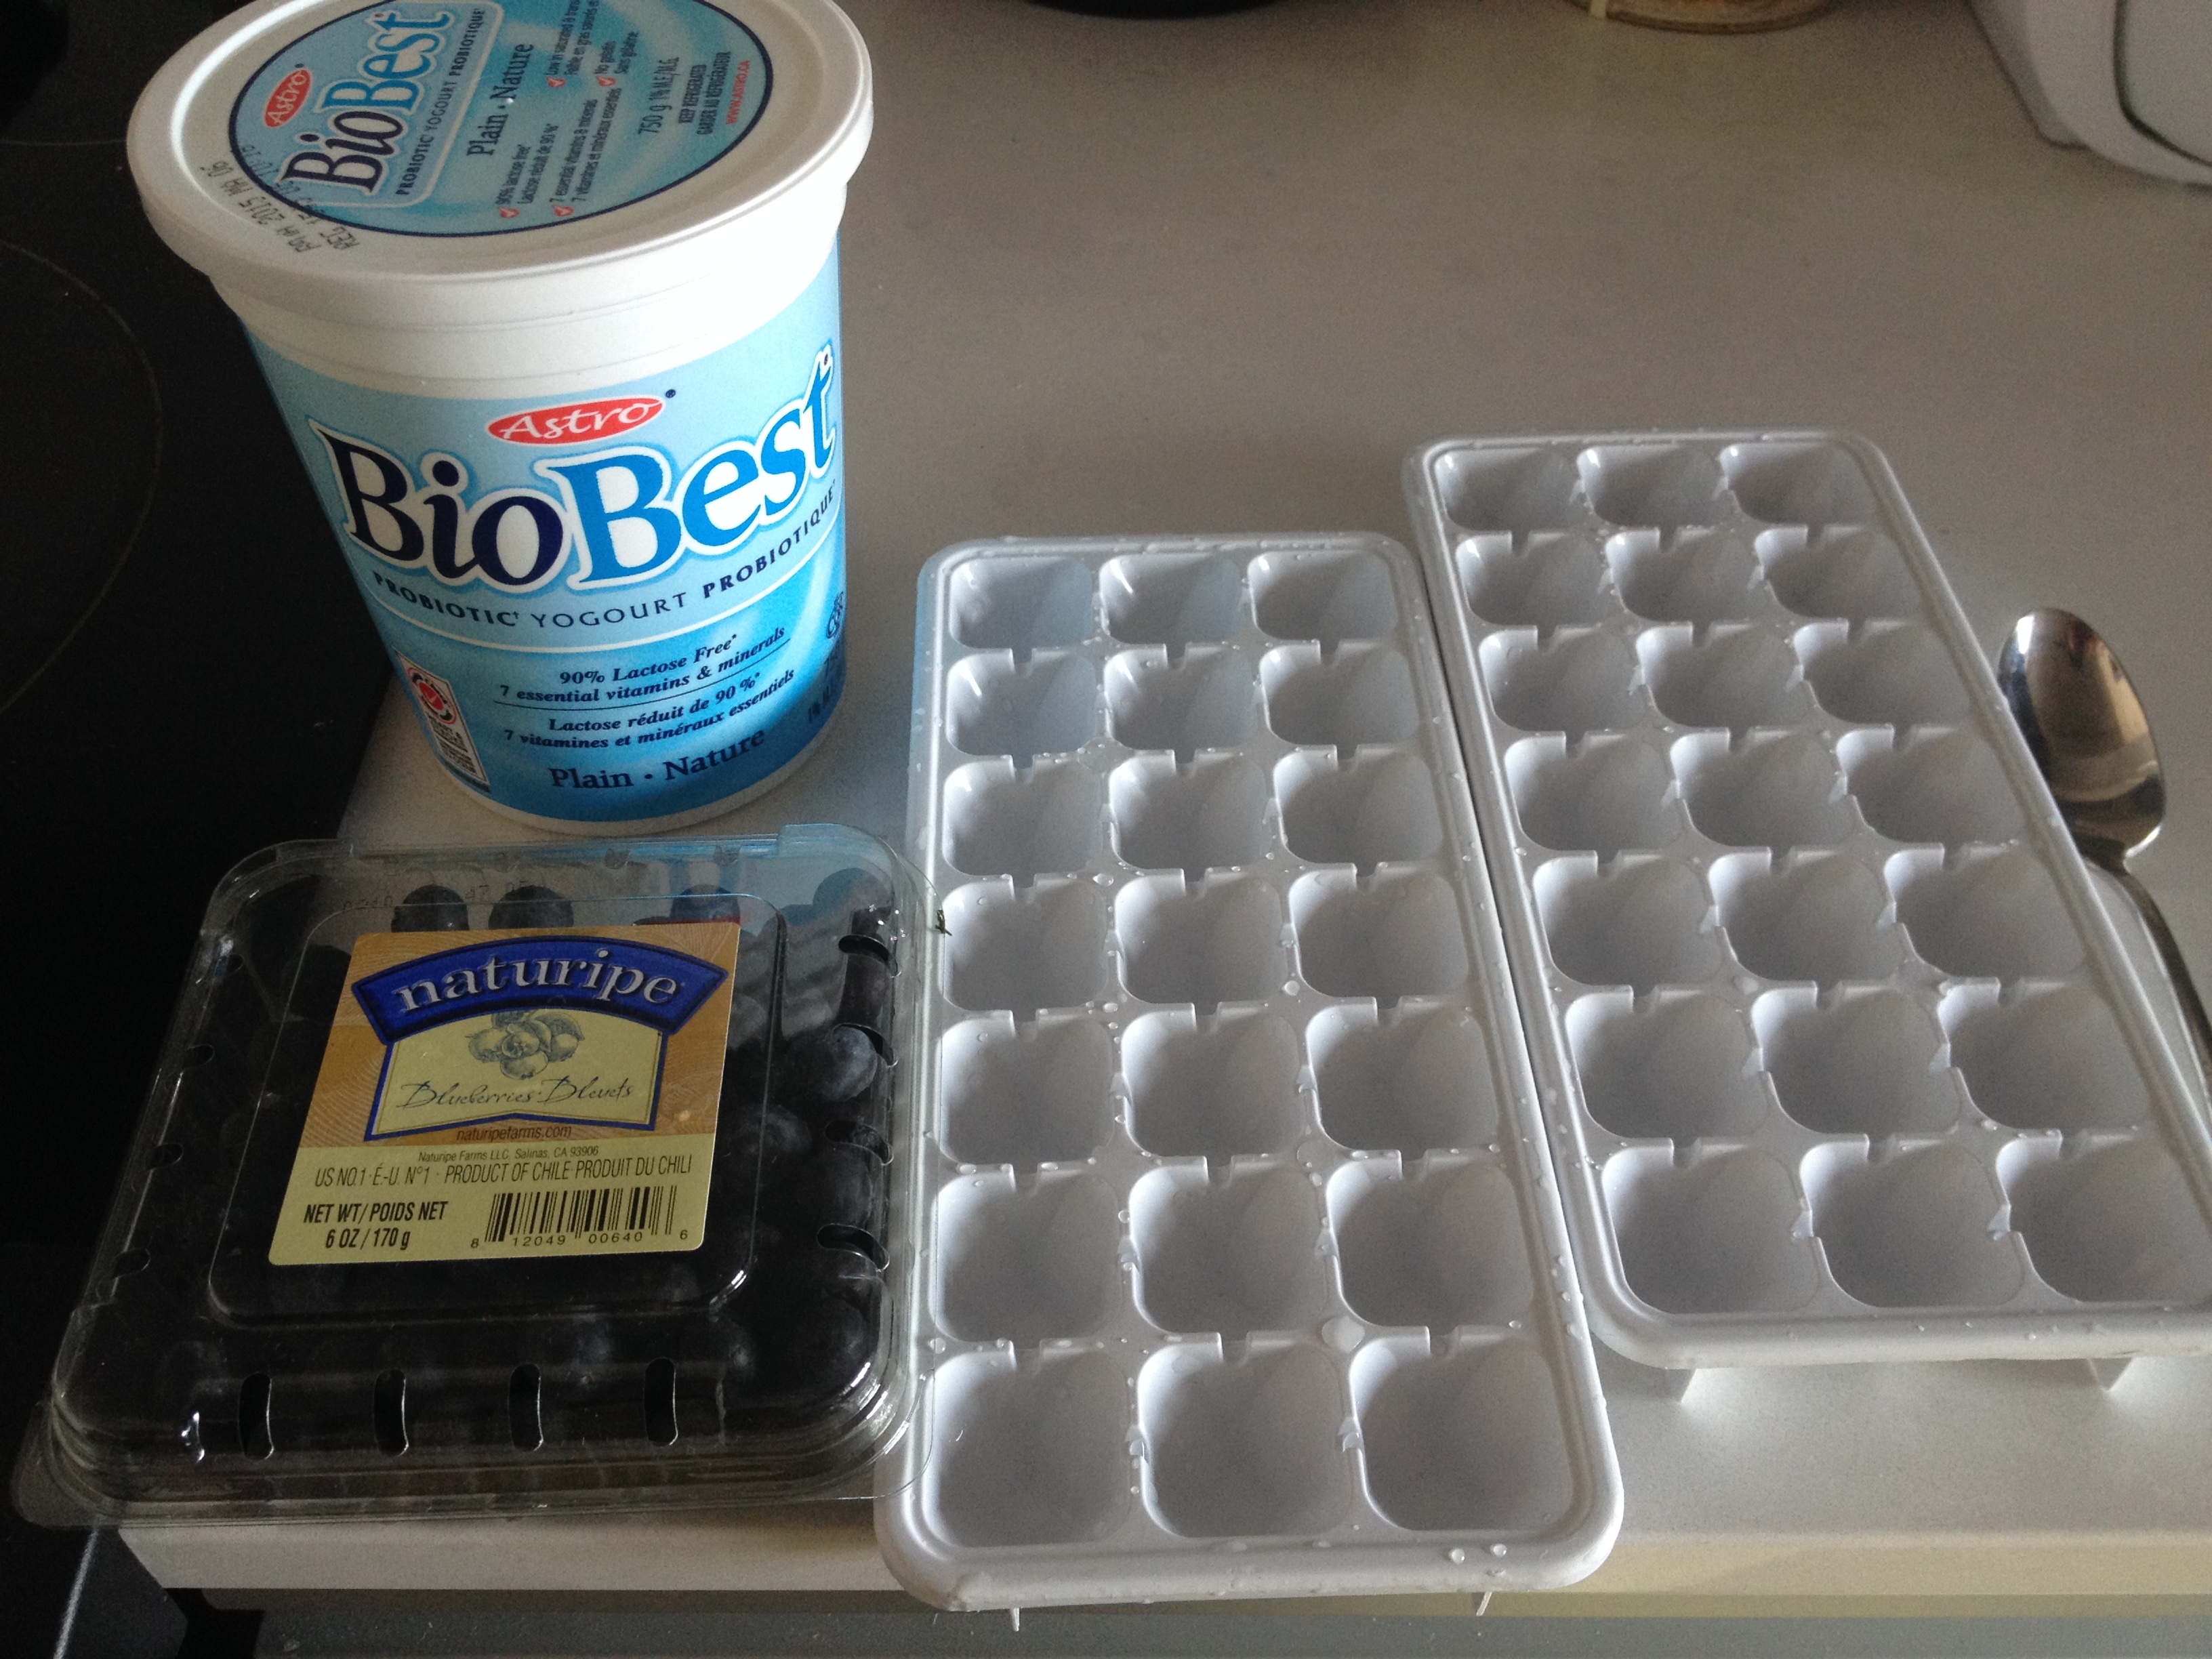
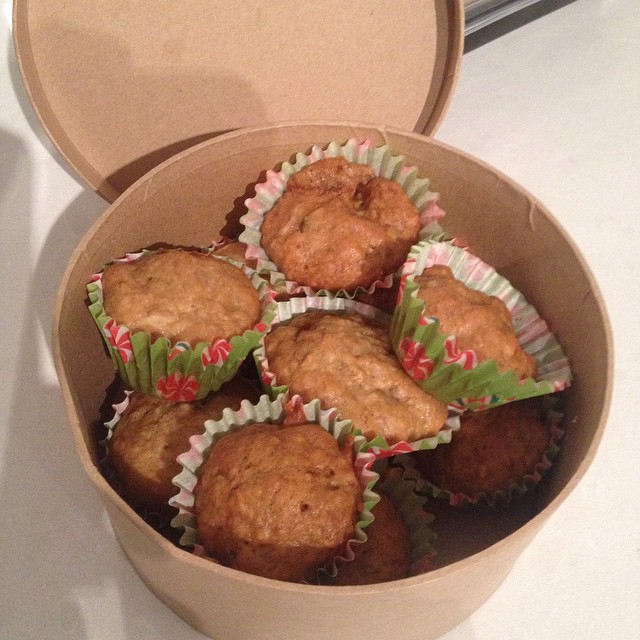
They are all very easy to make, require very few ingredients and the best part is you can mix and match ingredients to adapt the recipes to your personal taste.

IMG_6606
Just 6 to 8 glasses every day will help to keep you hydrated and keep your vital organs in their best possible health.

Whether you’re trying to lose weight, aiming for clearer skin, or simply want to feel healthier, one of the best ways to rid your body of harmful toxins is to drink water.

Kicking up the flavour of your water by adding these tasty, natural ingredients just helps give you that extra boost. 🙂

Have you LIKE’d the Petite Plus, Meow’s Facebook Page yet?

LIKE. Comment. Share.

PPMEOW logo11374781_307990329410052_2474957954090425852_n

January: Banana Pecan Mini-Muffins

With the New Year, my main mission for 2015 is a simple one:  Getting and Staying Happy.

In order to achieve this lofty goal I applied a START-STOP-CONTINUE approach.  Cooking is good for the mind, heart and soul.  Especially when shared with others.  And so I’ve decided to START cooking more – using recipes I’ve never tried before and sharing my culinary mis/adventures on the blog once a month.

I’ve even created a sub-menu on my homepage under REVIEWS for you – my readers –  to find them easily…and hopefully try a few yourself all year 🙂

Screen Shot 2015-01-11 at 4.03.15 PM

JANUARY’s recipe:  Banana Pecan Mini Muffins 

Note:  In an effort to share my baking with friends – I took  a simple Banana Loaf recipe and poured it into mini-muffin pans instead.  Which means my ‘muffins’ aren’t super sweet.  FYI.

The best bananas to use for banana bread are those that are over-ripe – i.e. black ones. The yellow peels should be at least half browned, and the bananas inside  squishy and browning.

Ingredients (approx. 4 dozen mini muffins):

  • 2-3 very ripe bananas, peeled
  • 1/3 cup melted butter
  • 1 cup of sugar (can easily use 3/4 cup, or drop it down to 1/2 cup if you want it less sweet)
  • 1 egg, beaten
  • 1 teaspoon vanilla extract
  • 1 teaspoon baking soda
  • Pinch of salt
  • 1 1/2 cups of all-purpose flour
  • 1 cup of pecan pieces

STEP 1:  Preheat the oven to 350°F (175°C), and spray butter a mini muffin pan OR use muffin papers like I did.

IMG_6276
STEP 2:   Mash the ripe bananas with a fork until smooth.  STEP 3: Stir in melted butter, baking soda, salt, sugar, egg, pecans, vanilla extract, and flour.   There’s no need for a mixer for this recipe! And to make clean-up is easy too – mix everything in one bowl … like me 🙂
10923474_10152651145009072_5928559235009821354_n
STEP 4: Pour the batter into your prepared mini-muffin tins OR into your mini papers on a cookie sheet – like me 🙂 Now…these ones may not keep a ‘proper muffin shape’ …but they’ll be just a delicious.
IMG_6278
STEP 5:  Bake for 15-mins  at 350°F (175°C), or until a toothpick inserted into the center comes out clean.  Remove from oven and cool completely on a rack. Remove the banana bread from the pan.

 Have you LIKE’d the Petite Plus, Meow’s Facebook Page yet?

LIKE. Comment. Share.

PPMEOW logo1

Holiday Happenings: Vintage Cookie Exchange

It’s the most wonderful time of the year!

Ok…the holiday season is upon us and I’m sure you’ve got 101 places to be as invitations start filling up your calendar.   I aim to write not only about What I Wore …. but rather What I Did while wearing it.

So get ready for a flurry of Holiday Happening posts from me throughout the month of December friends 🙂

One of the first invitations was to a Vintage Cookie Exchange!

1910363_10152546309564072_1275063817048398572_n

If you’ve been following the blog, you know that there is a group of special friends in my life from all my involvement with the Toronto Vintage Society.  Among them are the crafty, kitchy, artsy, put-Martha-Stewart-to-shame few who’ve really helped me expand and discover new skills I never knew I had.  And this invitation was one of those moments of discovery!!!!

10440241_10154832497010184_2762593710696745344_n

The Mission:  Bake 8 dozen holiday inspired cookies to give away to the others who were coming to this shindig, plus a few to be plated, shared and enjoyed at the party.

IMG_5826

Now, for a chick (moi) who doesn’t bake, my immediate thoughts were …. DUN DUN DUNNNNN…Run Away! Run Away! in a Monty Python spirited way.

holy-monty-python-run-away-monty-python-and-the-holy-grail-12387443-900-609

But then I bought this amazing fanny midi skirt, which would be perfect for the get-to-gether …and so I decided I’d make an effort by trying my hand at baking! 😉

redskirt 4

I picked up this lovely skirt from Tatyana Boutique’s newest location on West Queen West during their BOGO deal.  Yup – Buy One, Get One FREE!!!  Naturally I had to scoop up this midi in both colours: wine and green.  Needless to say that these two skirts will be making multiple appearances over the holidays (stay tuned to the blog for that!) 🙂

Best part about these skirts: THE POCKETS!! Perfect for iPhone, cab fare and lip gloss … you know, the essentials!

redskirt2In an effort to step my up holiday glam, I decided to wear festive accessories like my gold xmas bows set I picked up from Target a few years ago.  Still kicking myself for not picking them up in the other metallic xmas colours they had at the time.  Sigh…xmas earrings accessories

How I Got The Look:  Black n’ white polka dot 3/4 length top from Reitmans; Fanny midi skirt from Tatyana Boutique; Xmas bows accessory set from Target; and shoes were thrifted

fanny skirt by Tatyana Boutique
Outfit Photo Credit: Val Soo

As for my baking effort and contribution … I’ve been told that peanut butter cookies are the easiest of all the cookies to make.  And with the help of Pintrest, I found the following recipe and added my own holiday twist and TRIPLED it!

Ingredients (needed for approx 3doz cookies):

  • 1/2 c. butter (unsalted is best, but salted works fine)
  • 1/2 c. sugar
  • 1/2 c. brown sugar
  • 1/2 c. peanut butter
  • 1 egg
  • 1 tsp. vanilla
  • 2 c. flour
  • 1 tsp. baking soda
  • 1/2 tsp. salt
  • Un-wrapped Hershey Kisses, 1 for each cookie

I’ve even documented my efforts step-by-step for y’all 🙂

IMG_5758
Step 1: In the bowl cream together butter, both sugars and peanut butter. Add egg and vanilla. Step 2: Then combine flour, baking soda and salt in a small bowl. Add flour mix to butter mix. Step 3: Refrigerate dough in bowl for 30 minutes.
IMG_5760
Step 4: While dough is in fridge, preheat oven to 375C, line your cookie sheets and  unwrap all your Hershey’s Kisses. I went with Hugs instead…the swirls looked more ‘holiday-like’ 🙂
IMG_5761
Step 5: Form into 1 inch balls and place them 2 inches apart on a cookie sheet.
IMG_5762
Step 6: Bake for 9 to 10 minutes, or until cookies are just a little brown.
IMG_5764
Step 7: Discard all the burnt ones – lol. This was my very first batch…seems the recommended use of parchment paper was of critical importance. Sigh…
IMG_5763
Step 8: Remove from oven, and press a Kiss/Hug into each cookie. Cool on cookie sheet for 5 minutes and then move cookies to cooling racks (or plate).
IMG_5766
Step 9: Put a dozen of them into individual festive baggies to give away at your Vintage Holiday Cookie Exchange!  I call these cookies: Christmas Hugs!!
10492245_1498558893760516_3428079132039143013_n
Step 10: Become Cookie Monsters with your cookie baking friends and eat as many as you can in a violently horrific manner!! #nomnomnom

This was my first cookie exchange ever – first time baking cookies ever, in fact.  And with relatively little work and preparation I’m now am able to offer a variety of lovely baked goods to family & friends at upcoming holiday festivities and gifting.  HAZZA! 🙂

Between all the shopping, parties, wrapping, decorating, and travel this time of year, most of us would put “more time” as the number one item on our holiday wish lists. So this year, why not kill two turtledoves with one stone by hosting a cookie exchange party?

 Have you LIKE’d the Petite Plus, Meow’s Facebook Page yet?

LIKE. Comment. Share.   🙂

PPMEOW logo1

%d bloggers like this: